
With another laptop running Windows 11, I now have a MacBook Air running Windows 10 I do not need.
This allowed me to repurpose my much older (Mid 2011) 13” MacBook Air to run Linux. It had been running Windows 10, but with Windows 10 now end of life and a newer laptop running Windows 11, time to try Linux on my MacBook Air.
Well, Linux Mint 22.2 ‘Zara’ really has given it a fresh breath of Minty Air! With a Core i7, 4GB RAM and 250GB SSD it flies. So much for a 14 year old laptop being obsolete technology Apple. Linux Mint has proven there’s still life in this oldie.
In this post I’ll show you my step-by-step approach I used on my MacBook Air. I hope it helps you do the same.
TL;DR - There’s a YouTube video of the installation compressed into 2 minutes right here.
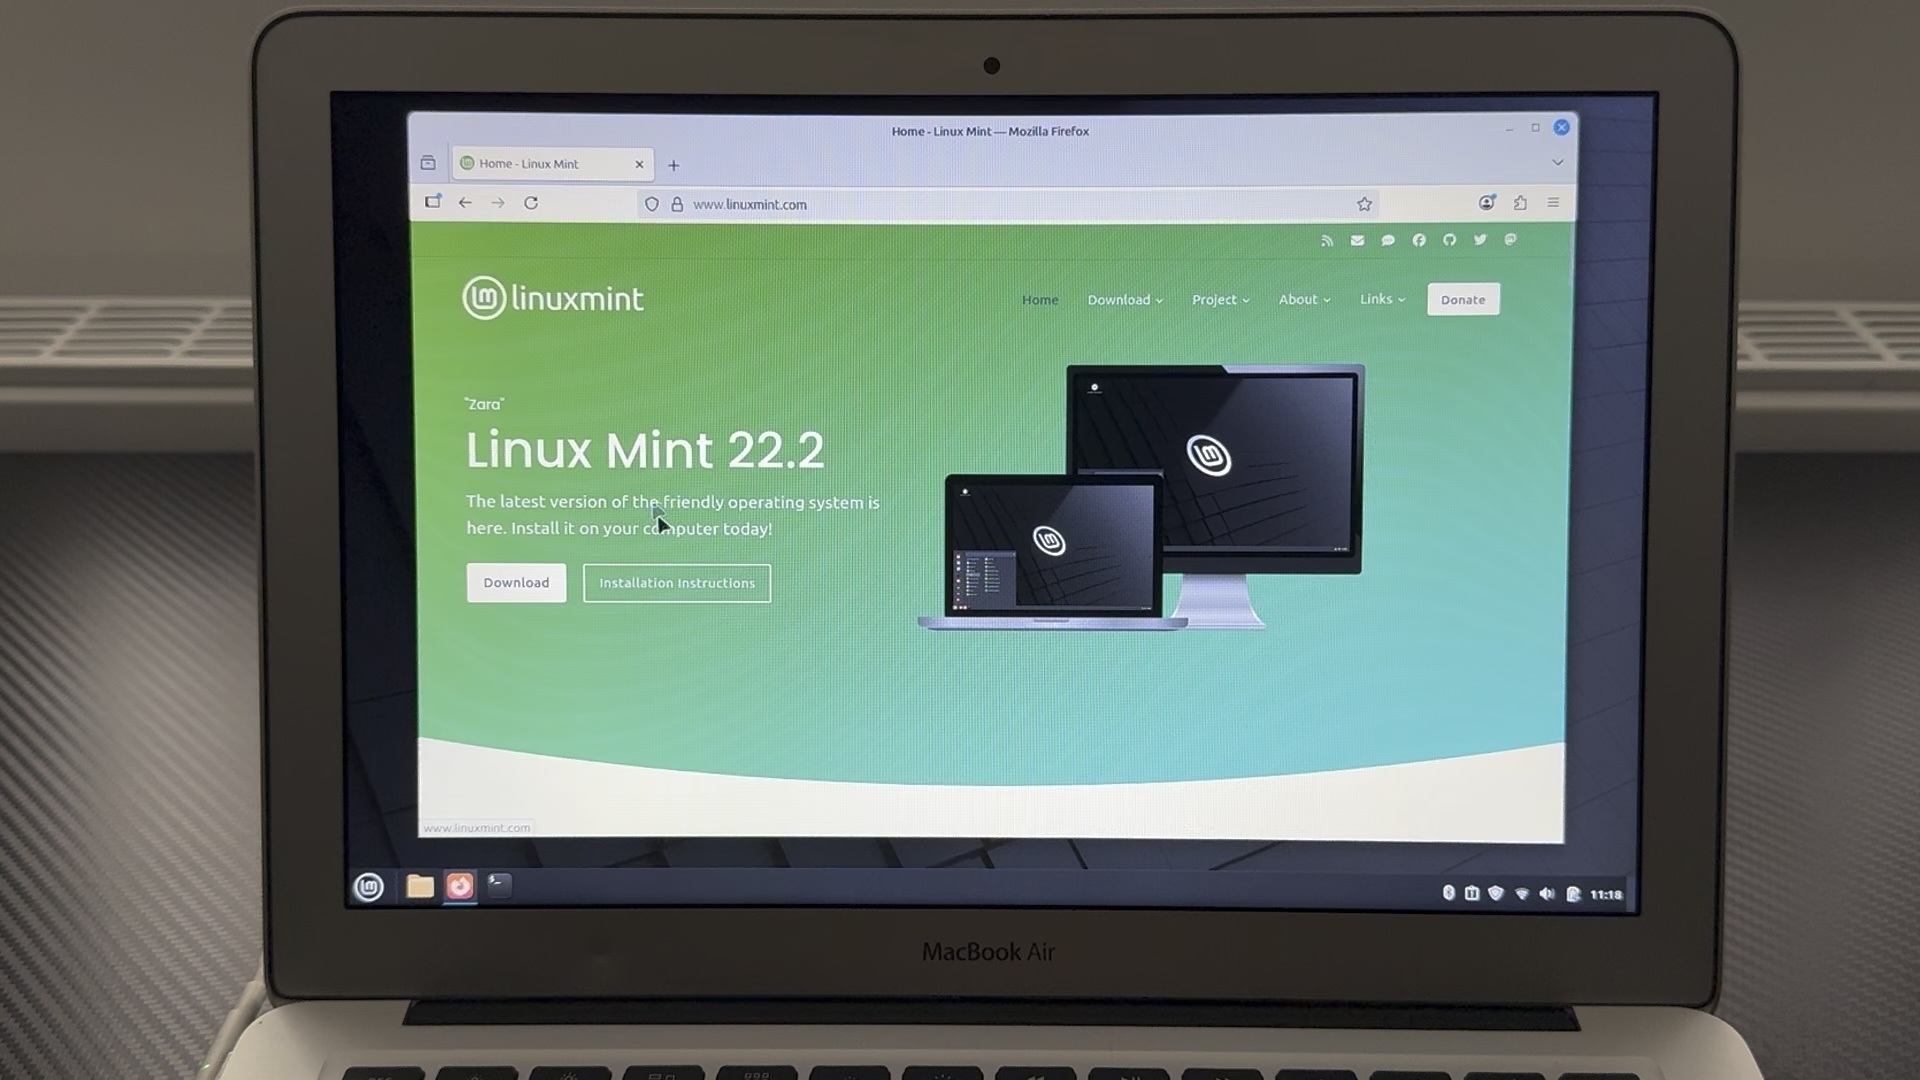
Download Linux Mint
Go to https://linuxmint.com and follow the links to download. I chose the modern, innovative, full-featured desktop Cinnamon edition. Others such as MATE and Xfce are also available which are more traditional and/or faster. My MacBook Air 2011 with 4GB RAM runs Cinnamon like a dream.
There are also instructions on verifying the download using a SHA256 checksum.
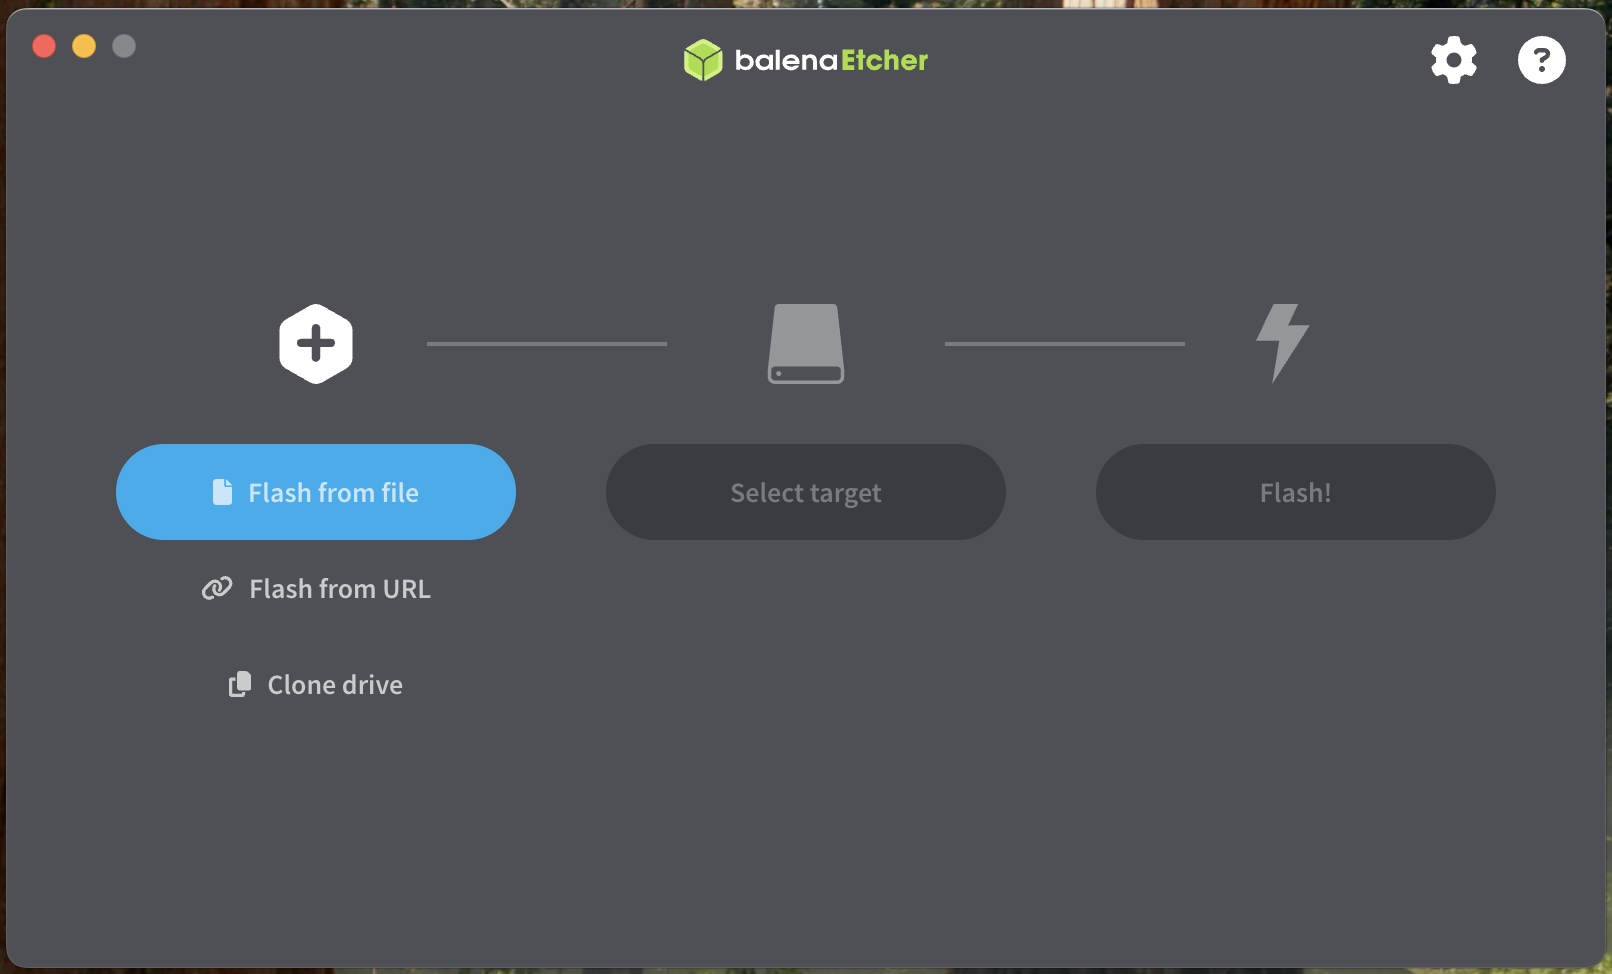
Make a Bootable USB
Linux Mint ISO only uses 3GB, so a 4GB USB stick should be plenty big enough.
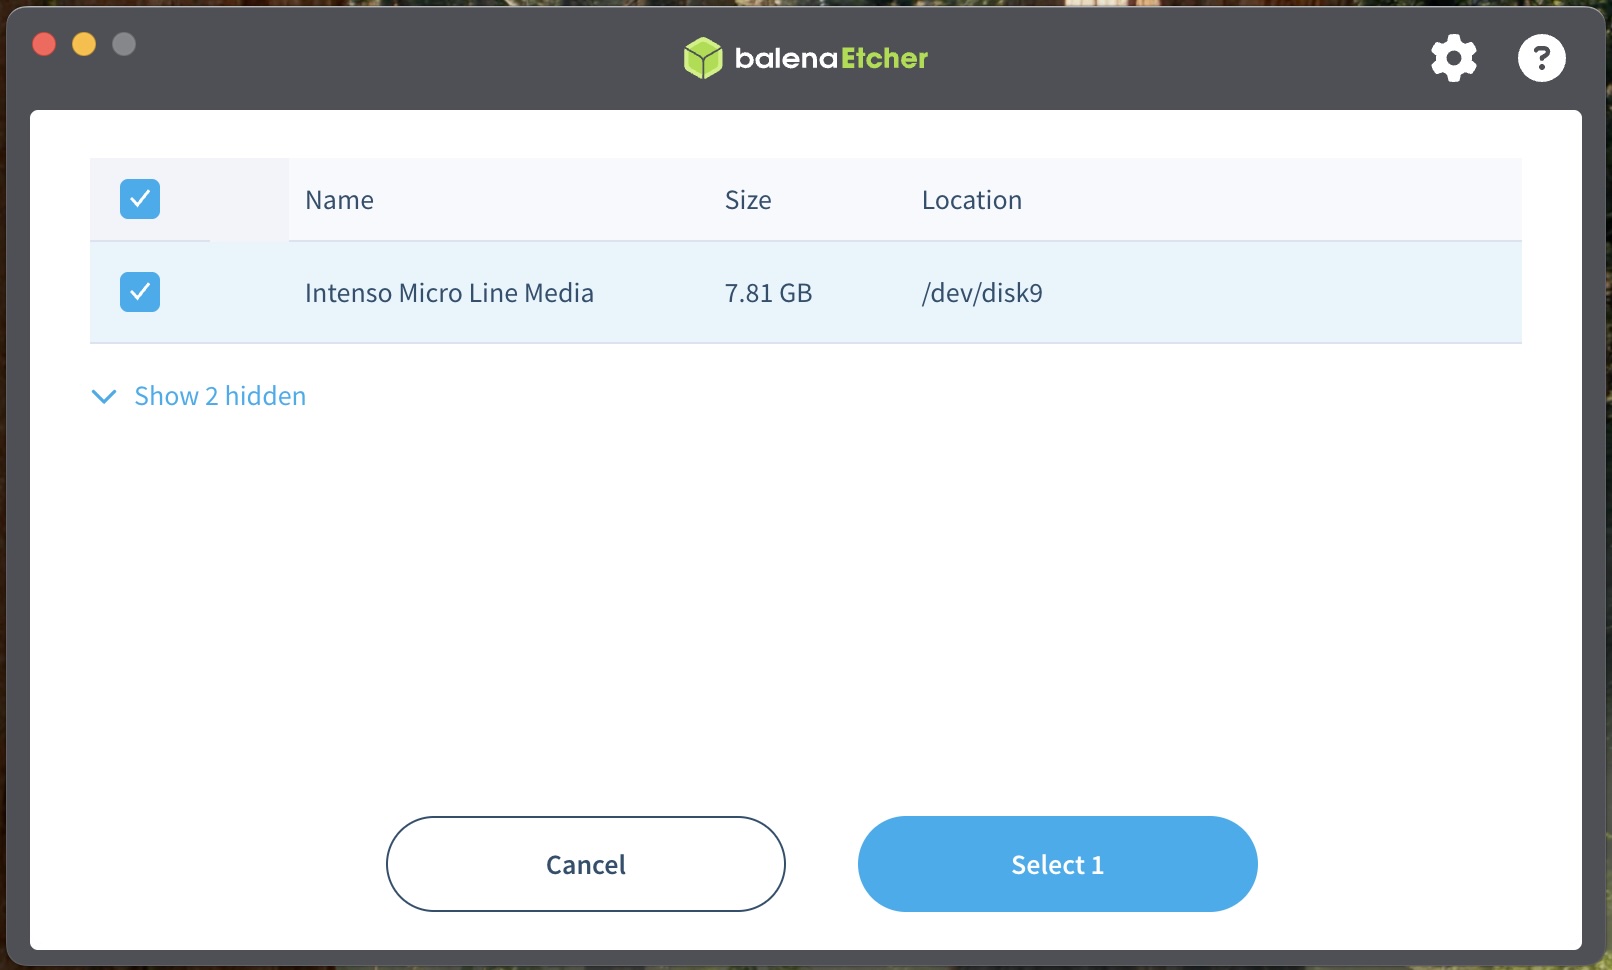
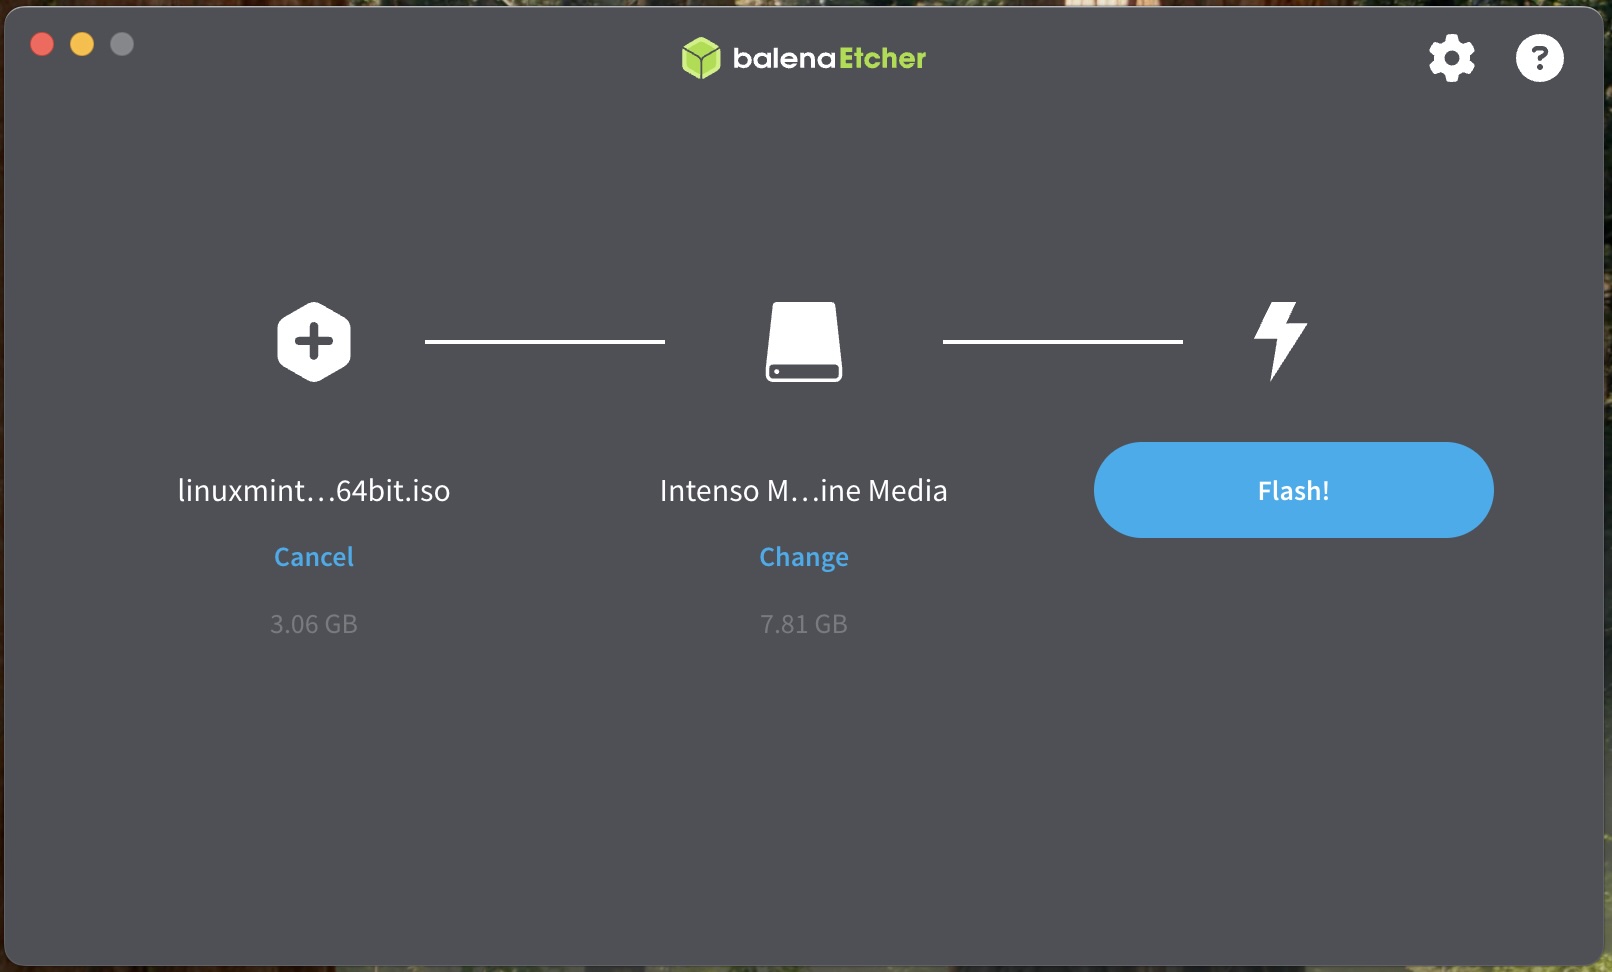
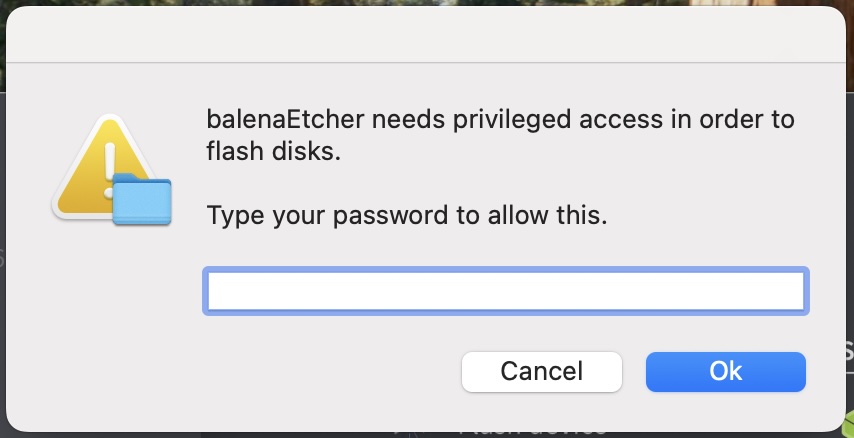
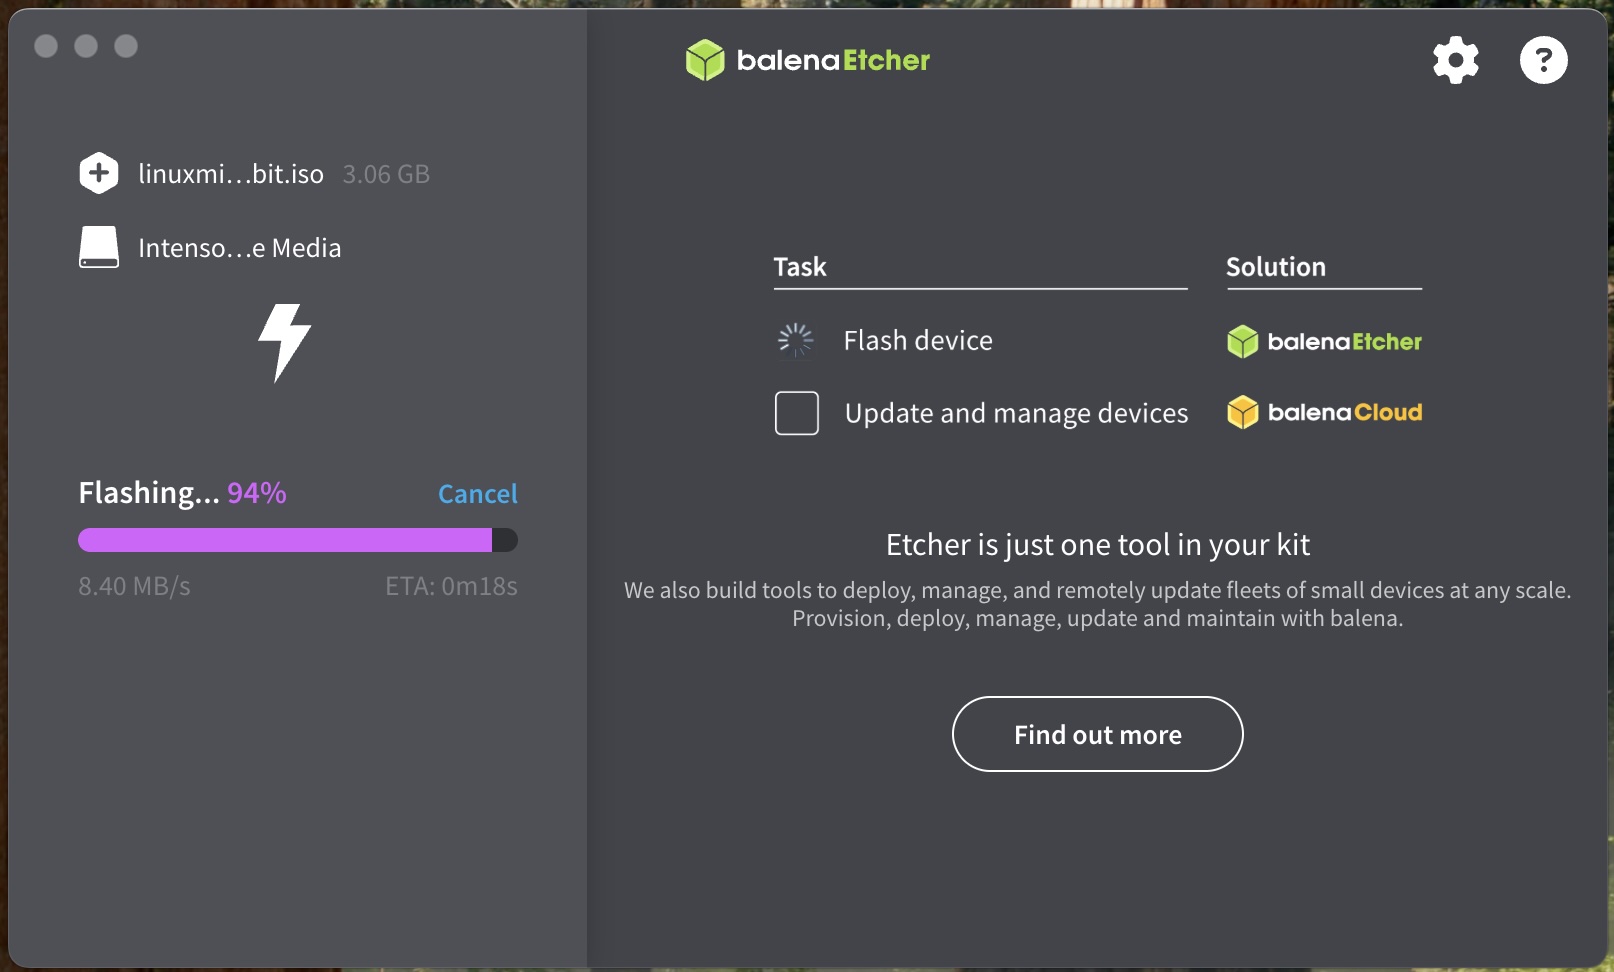
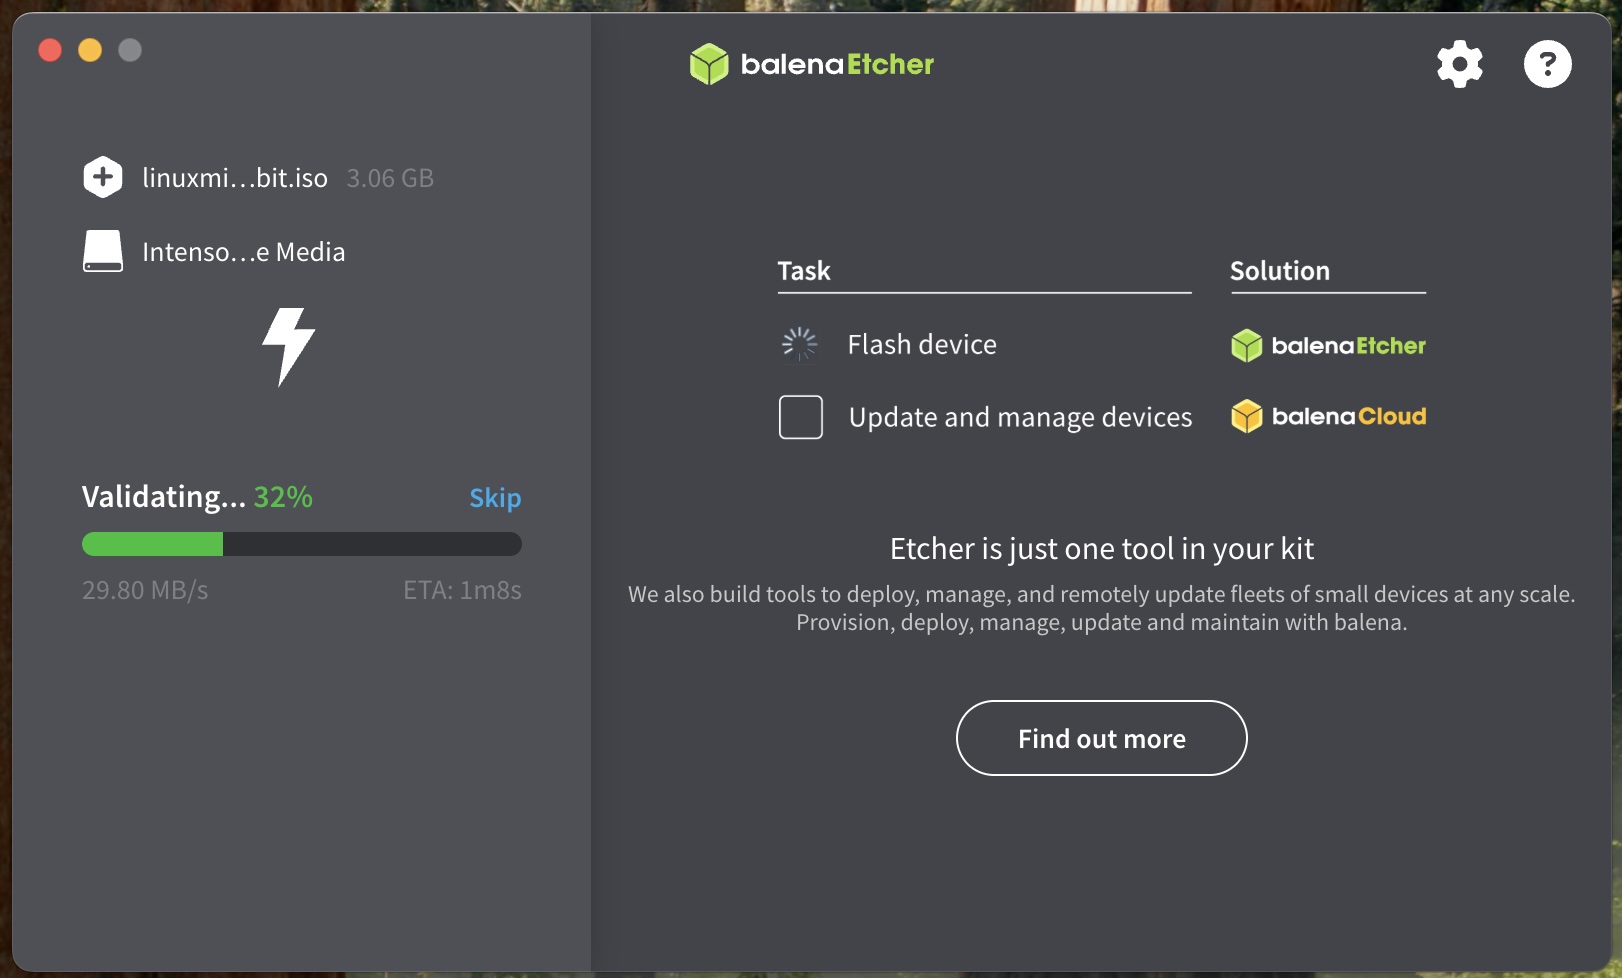
If you can run Etcher this is the easiest way to create a bootable USB.
Alternatively on a Mac (maybe the Mac you want to install Linux Mint on), the following can copy the ISO image to your USB.
First use diskutil list to list out the disks in your machine. You can first run this without the USB inserted and again after inserting. That way you can find the new disk appearing in the list to confirm the /dev/diskX number
You will get something like this:
diskutil list
/dev/disk0 (internal, physical):
   #:                       TYPE NAME                    SIZE       IDENTIFIER
   0:      GUID_partition_scheme                        *1.0 TB     disk0
   1:             Apple_APFS_ISC Container disk1         524.3 MB   disk0s1
   2:                 Apple_APFS Container disk3         994.7 GB   disk0s2
   3:        Apple_APFS_Recovery Container disk2         5.4 GB     disk0s3

...

/dev/disk8 (external, physical):
   #:                       TYPE NAME                    SIZE       IDENTIFIER
   0:     FDisk_partition_scheme                        *7.8 GB     disk8
   1:               Windows_NTFS Untitled                7.8 GB     disk8s1
You’re looking for the USB disk. Here it is disk 8.
We need to unmount all the USB’s diskXsY volumes such as /dev/disk8s1 in my example (not all the disks, just the USB diskX). You can force an unmount using the following command:
sudo umount /dev/diskXsY
replacing diskXsY with your values. Your may need to force (-f) it if necessary.
Now we can write the ISO image to the USB with the following command, replacing diskX with your values as before. You could try using /dev/rdiskX instead of /dev/diskX as it may be faster. Mine gave no significant difference. You can use either /dev/diskX or /dev/rdiskX as you wish.
Remember, its /dev/diskXsY, not /dev/diskX…
sudo dd if=Downloads/linuxmint-22.2-cinnamon-64bit.iso of=/dev/diskX status=progress bs=1m
The status=progress option provides updates as it progresses, otherwise it only outputs at the end, so may look like it is not working when it is. Eventually, it will say something like:
  3053453312 bytes (3053 MB, 2912 MiB) transferred 384.337s, 7945 kB/s
2913+1 records in
2913+1 records out
3055239168 bytes transferred in 384.455023 secs (7946935 bytes/sec)
Depending on your drivers, you may get a message saying the USB is not recognised.
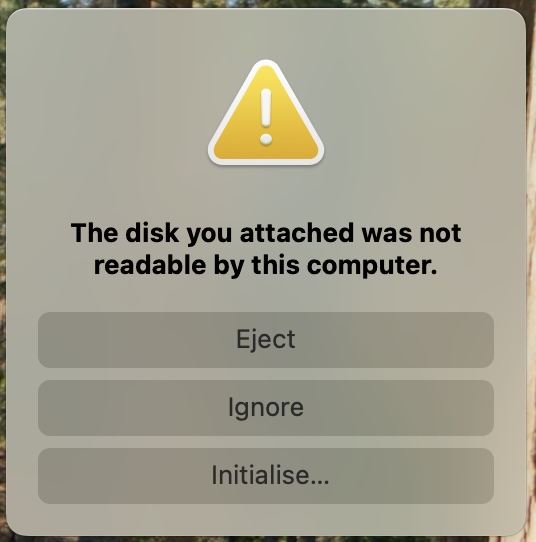
This is fine, without extra drivers, MacOS and Windows do not recognise the Linux ext4 disk format. Just choose to eject the USB so you can unplug it.
Boot from USB.
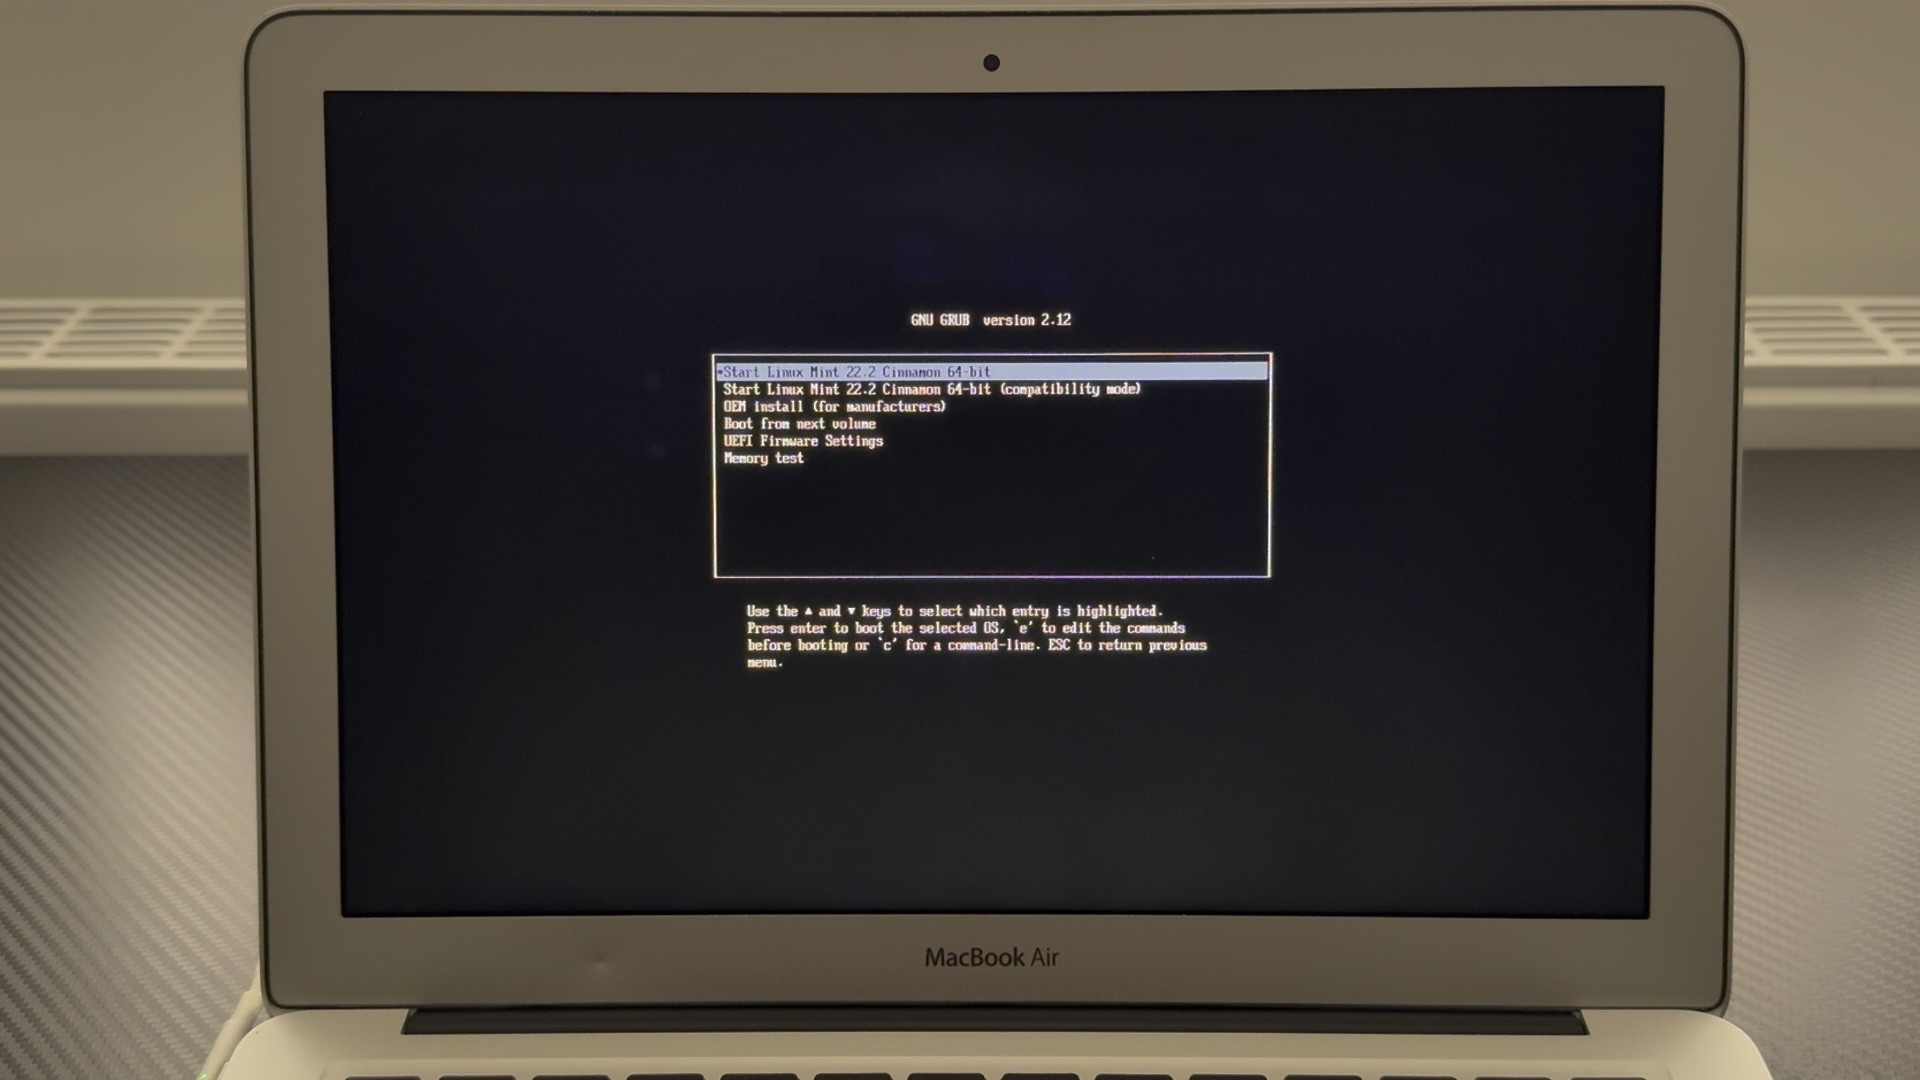
On MacBooks, insert the USB and hold down Option (or Alt) whilst powering on. At the boot option screen choose the USB stick.
From GNU GRUB menu, start Cinnamon.

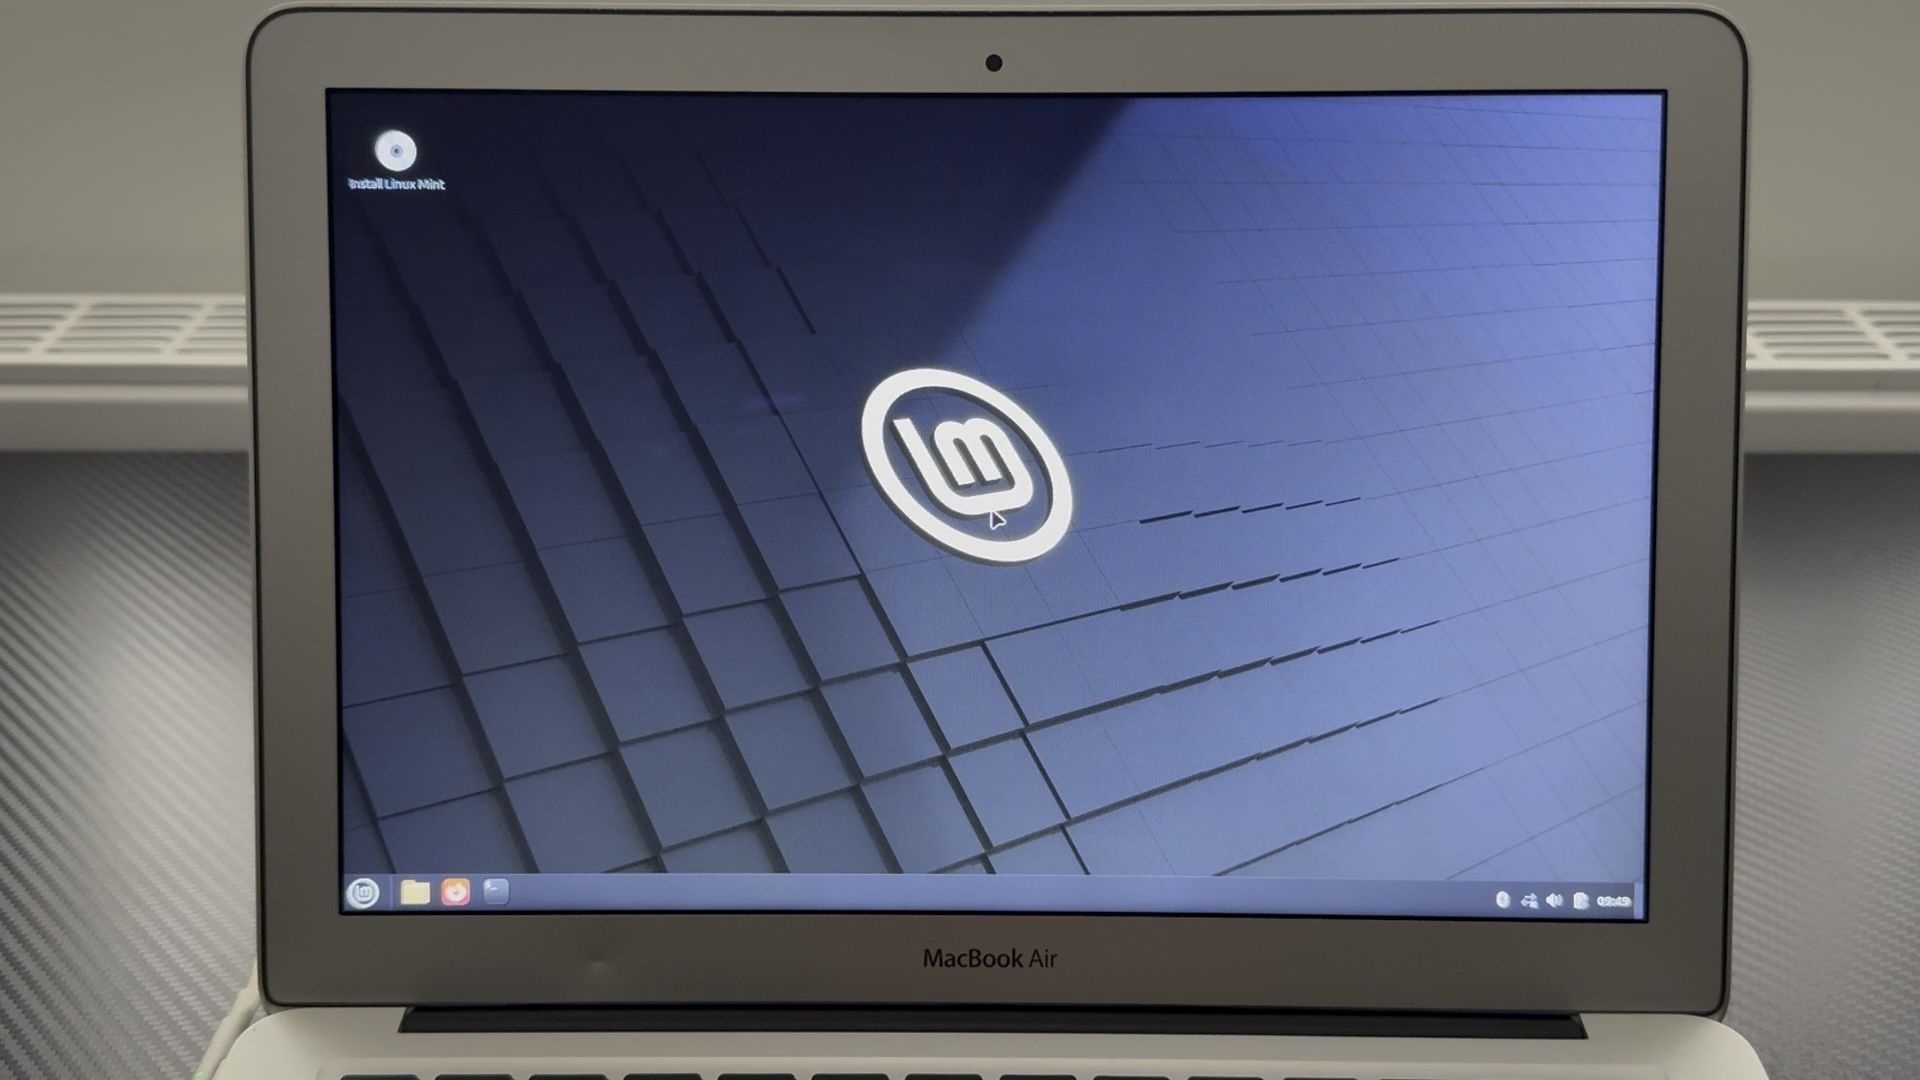
Once started (may take a while as its loading live from the USB), double click the Install Linux Mint CD icon at the top left of the desktop.
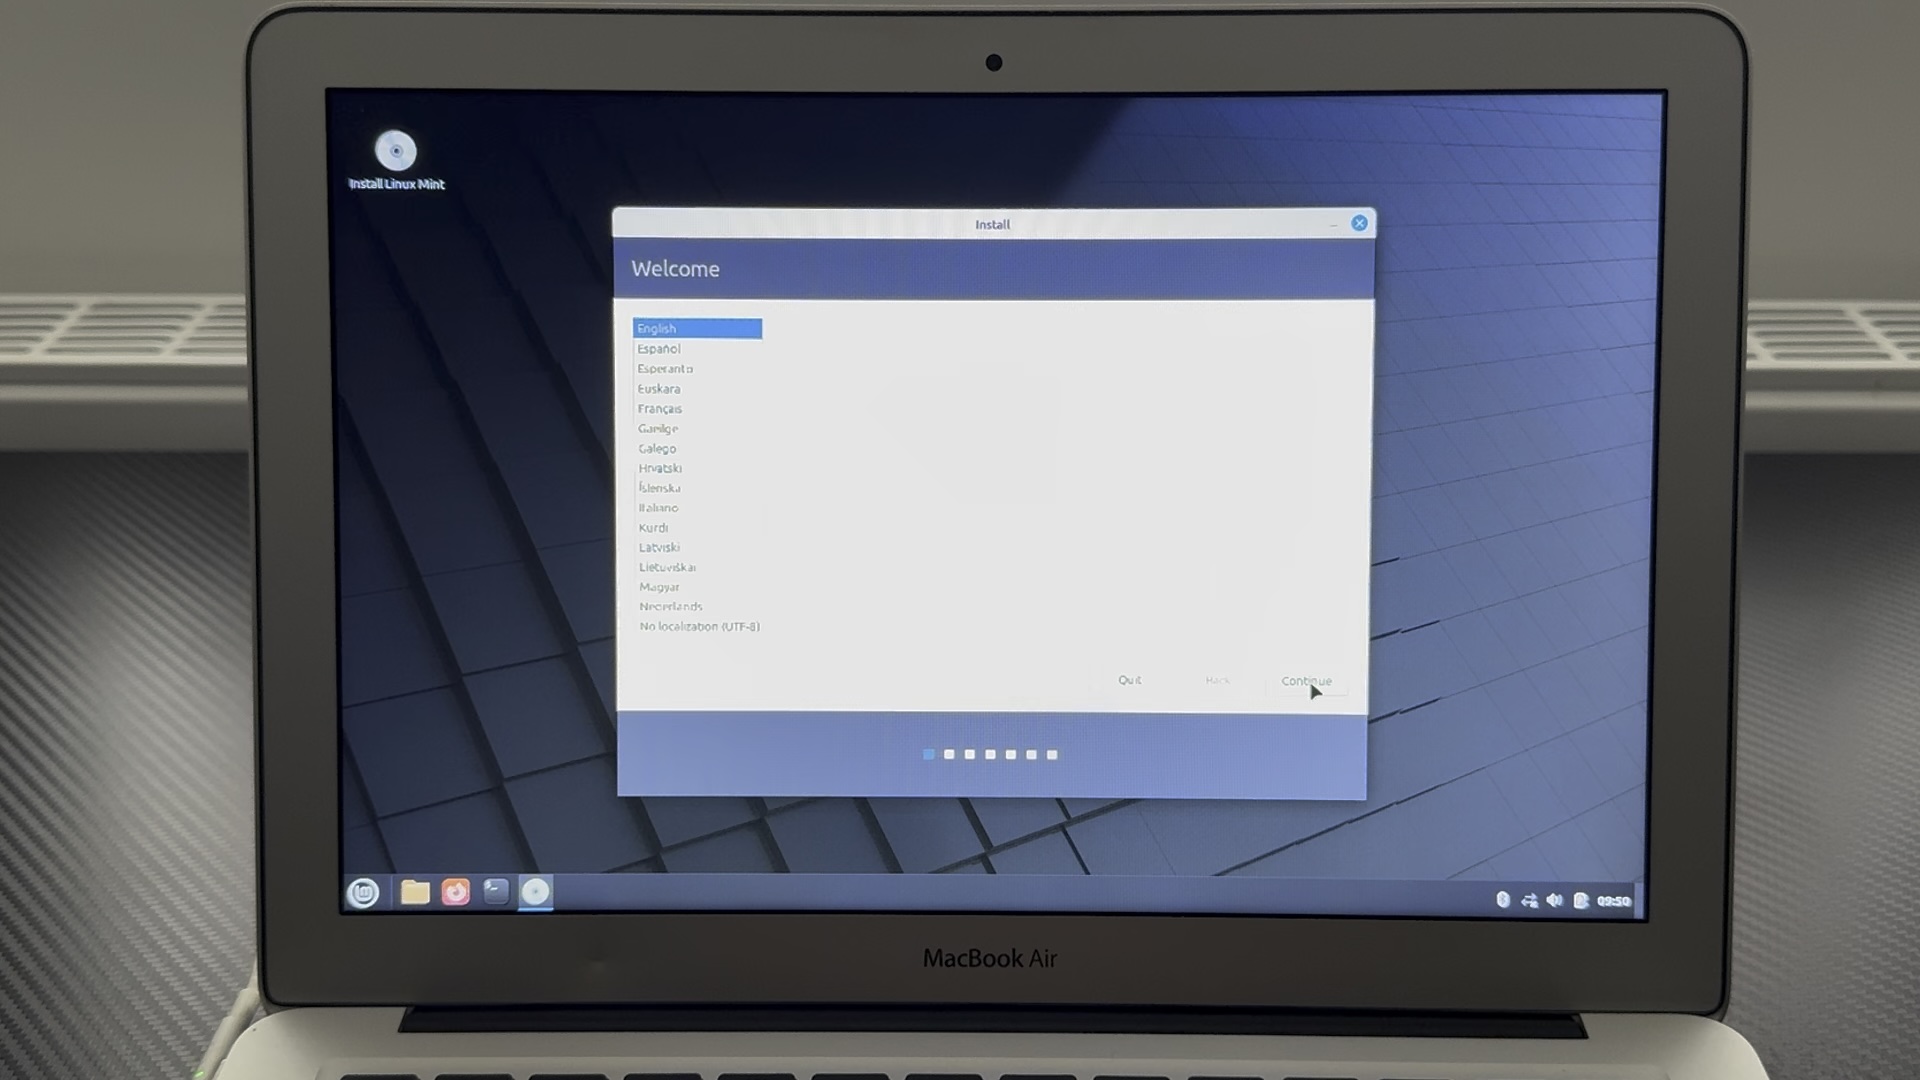
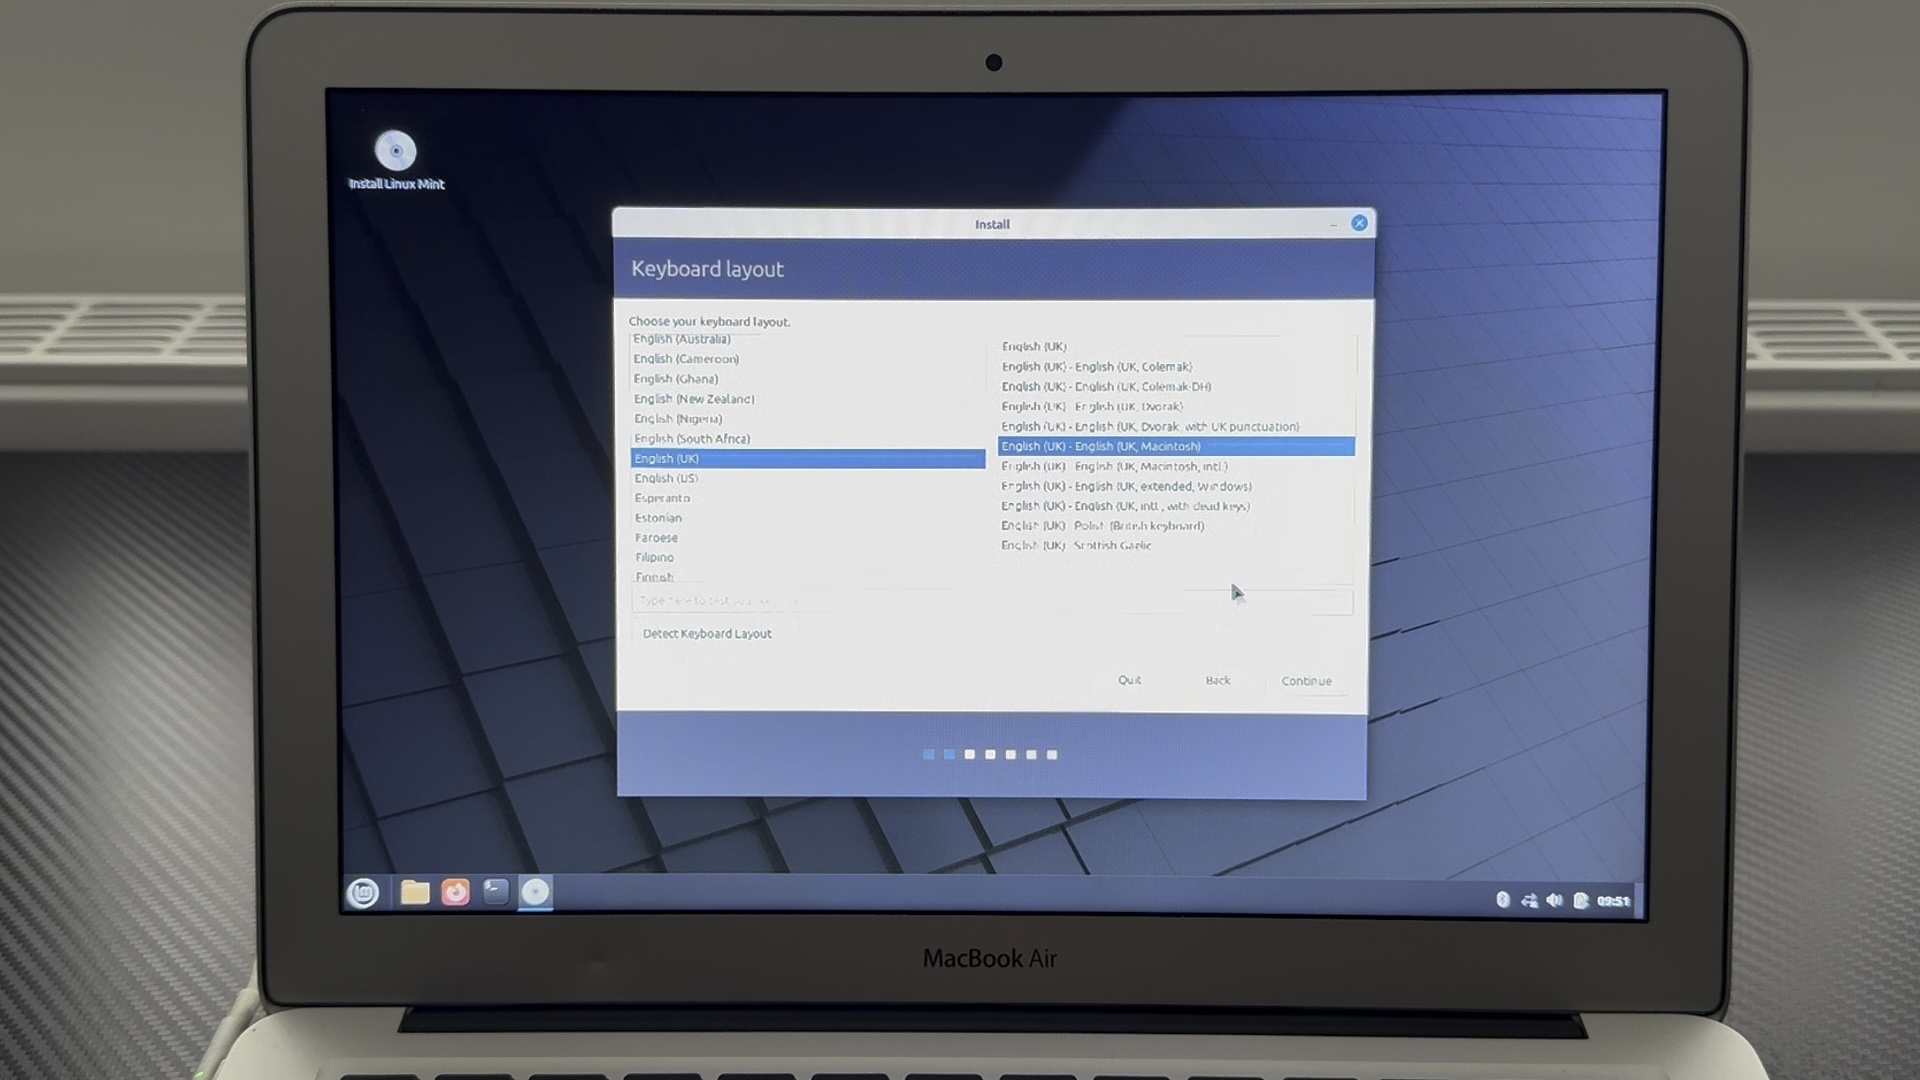
Install from USB
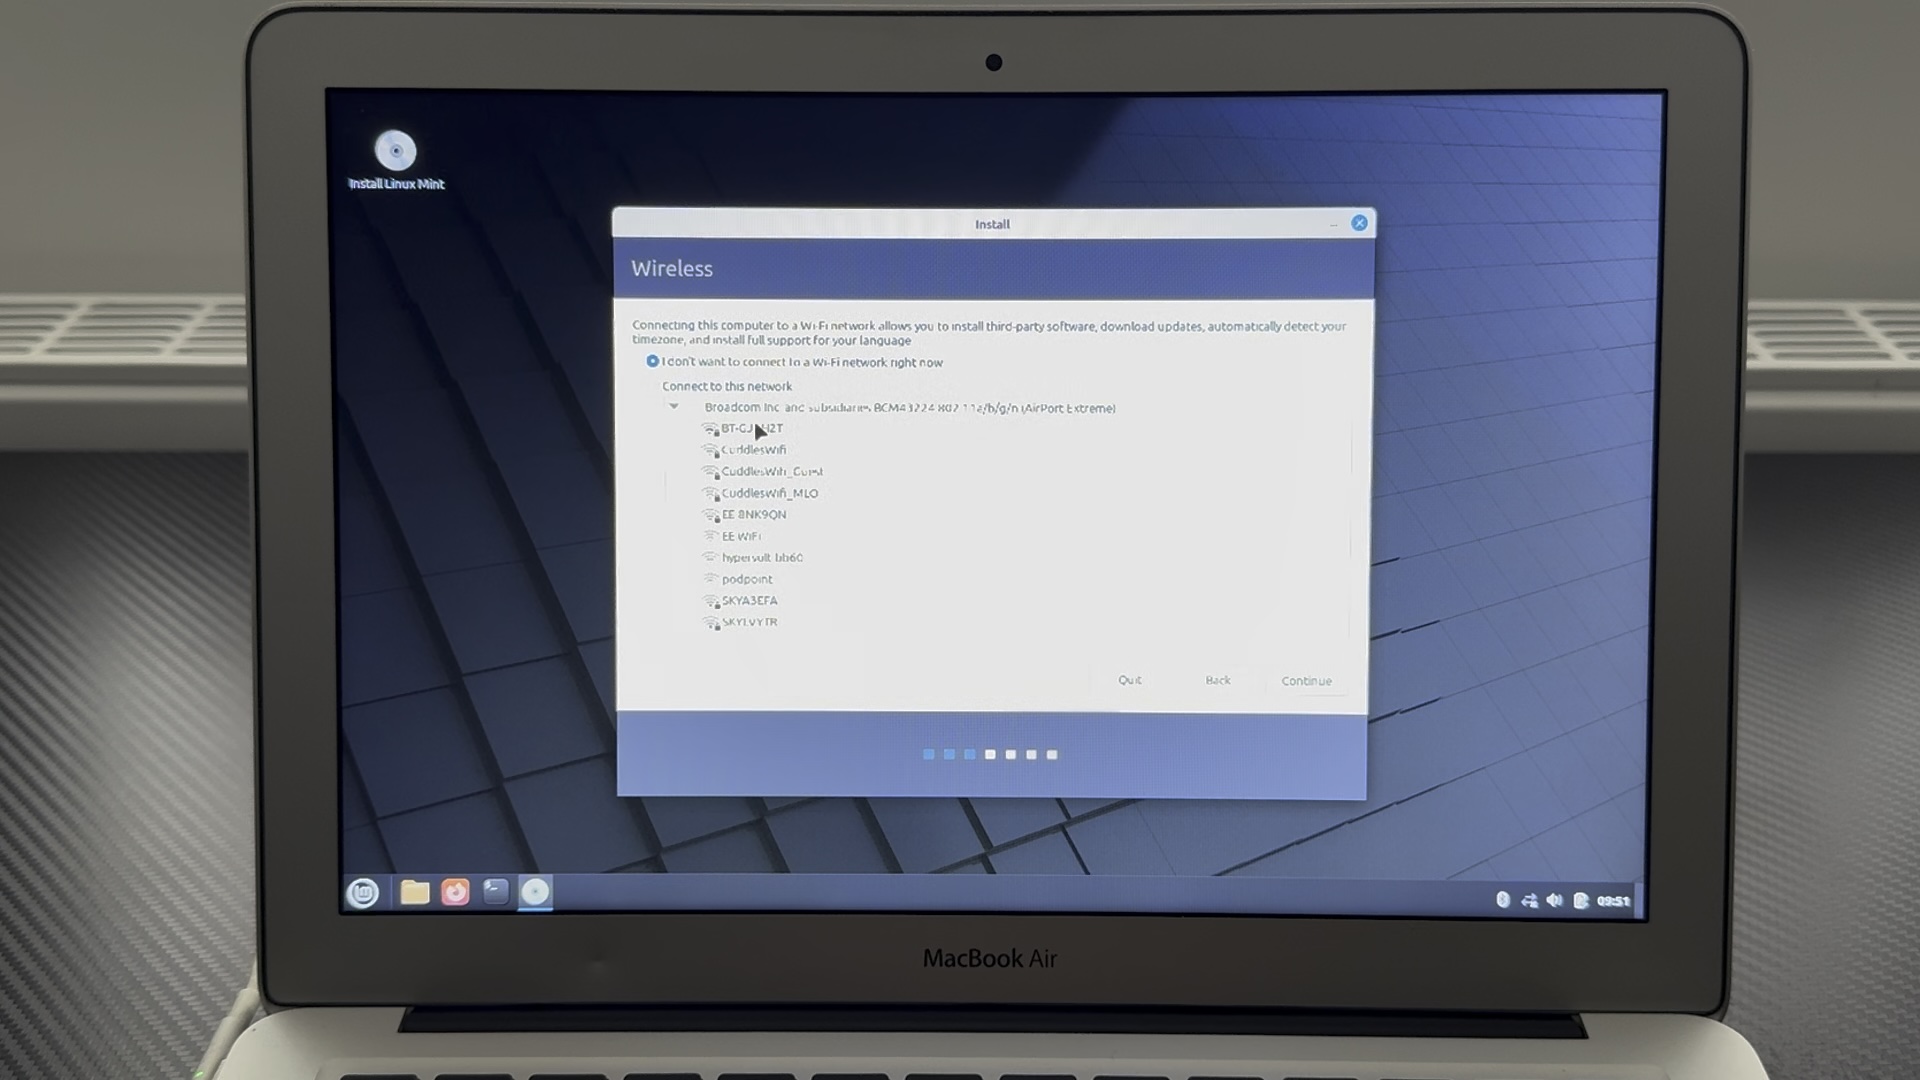
Follow the on-screen prompts choosing a Macintosh keyboard, Wireless and Multimedia Codecs.

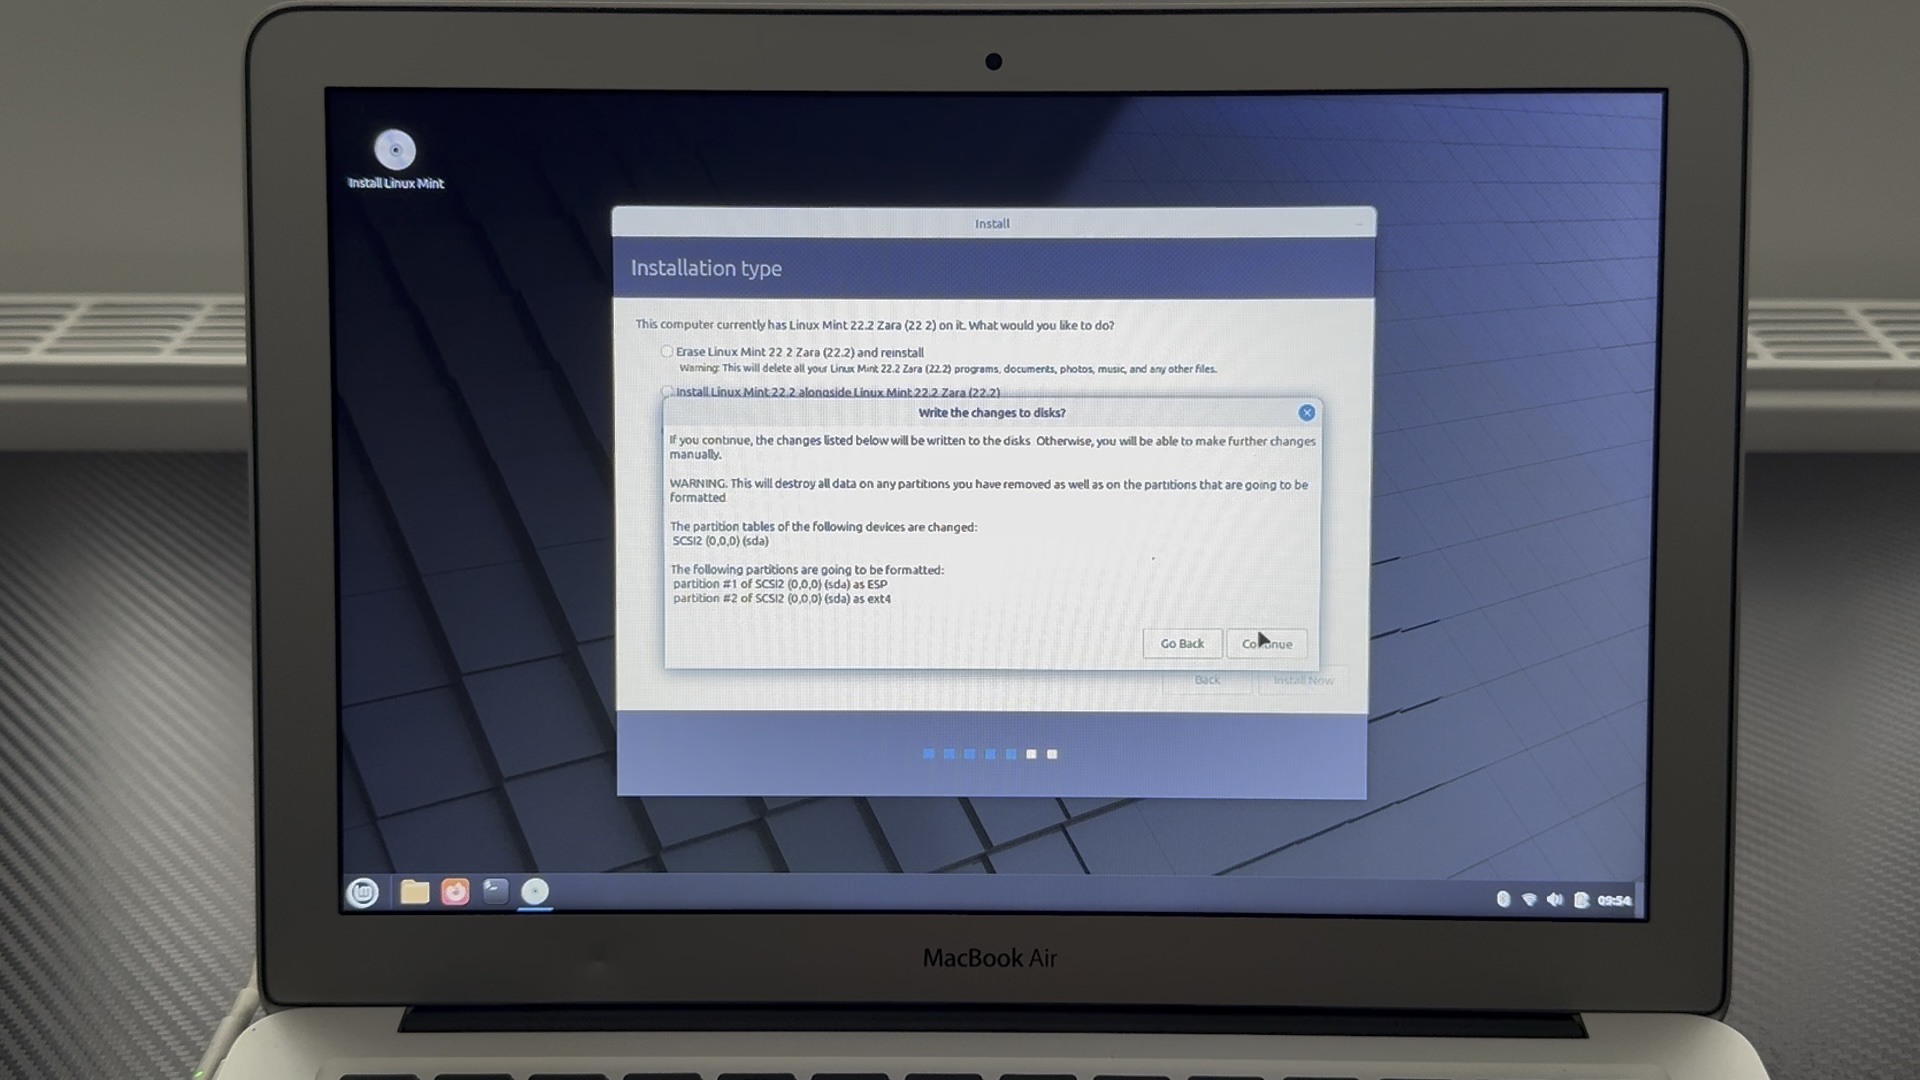
At the installation type screen, I chose Erase disk and install Linux Mint as I had no intention of returning to MacOS on this machine. This wipes all partitions and sets it up fresh.

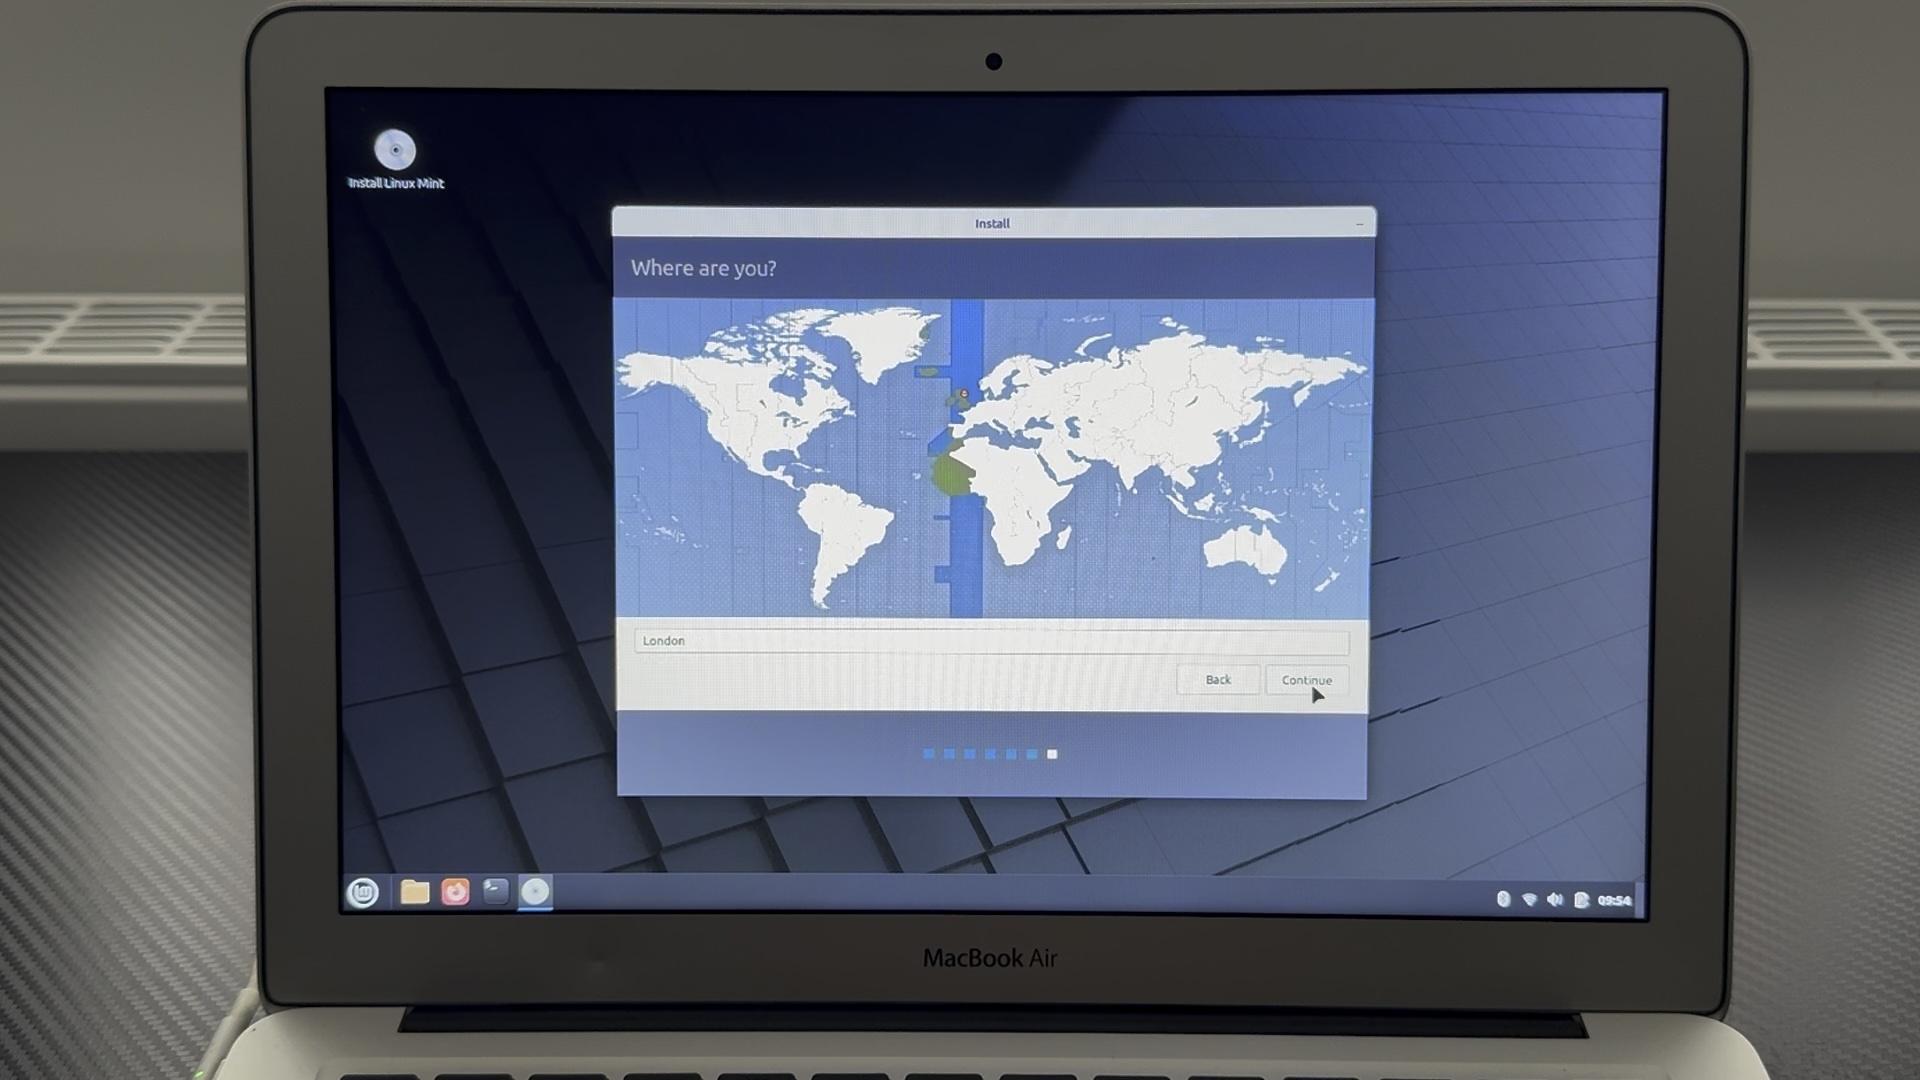
Choose your region and provide a username and password.

Let the installation progress.
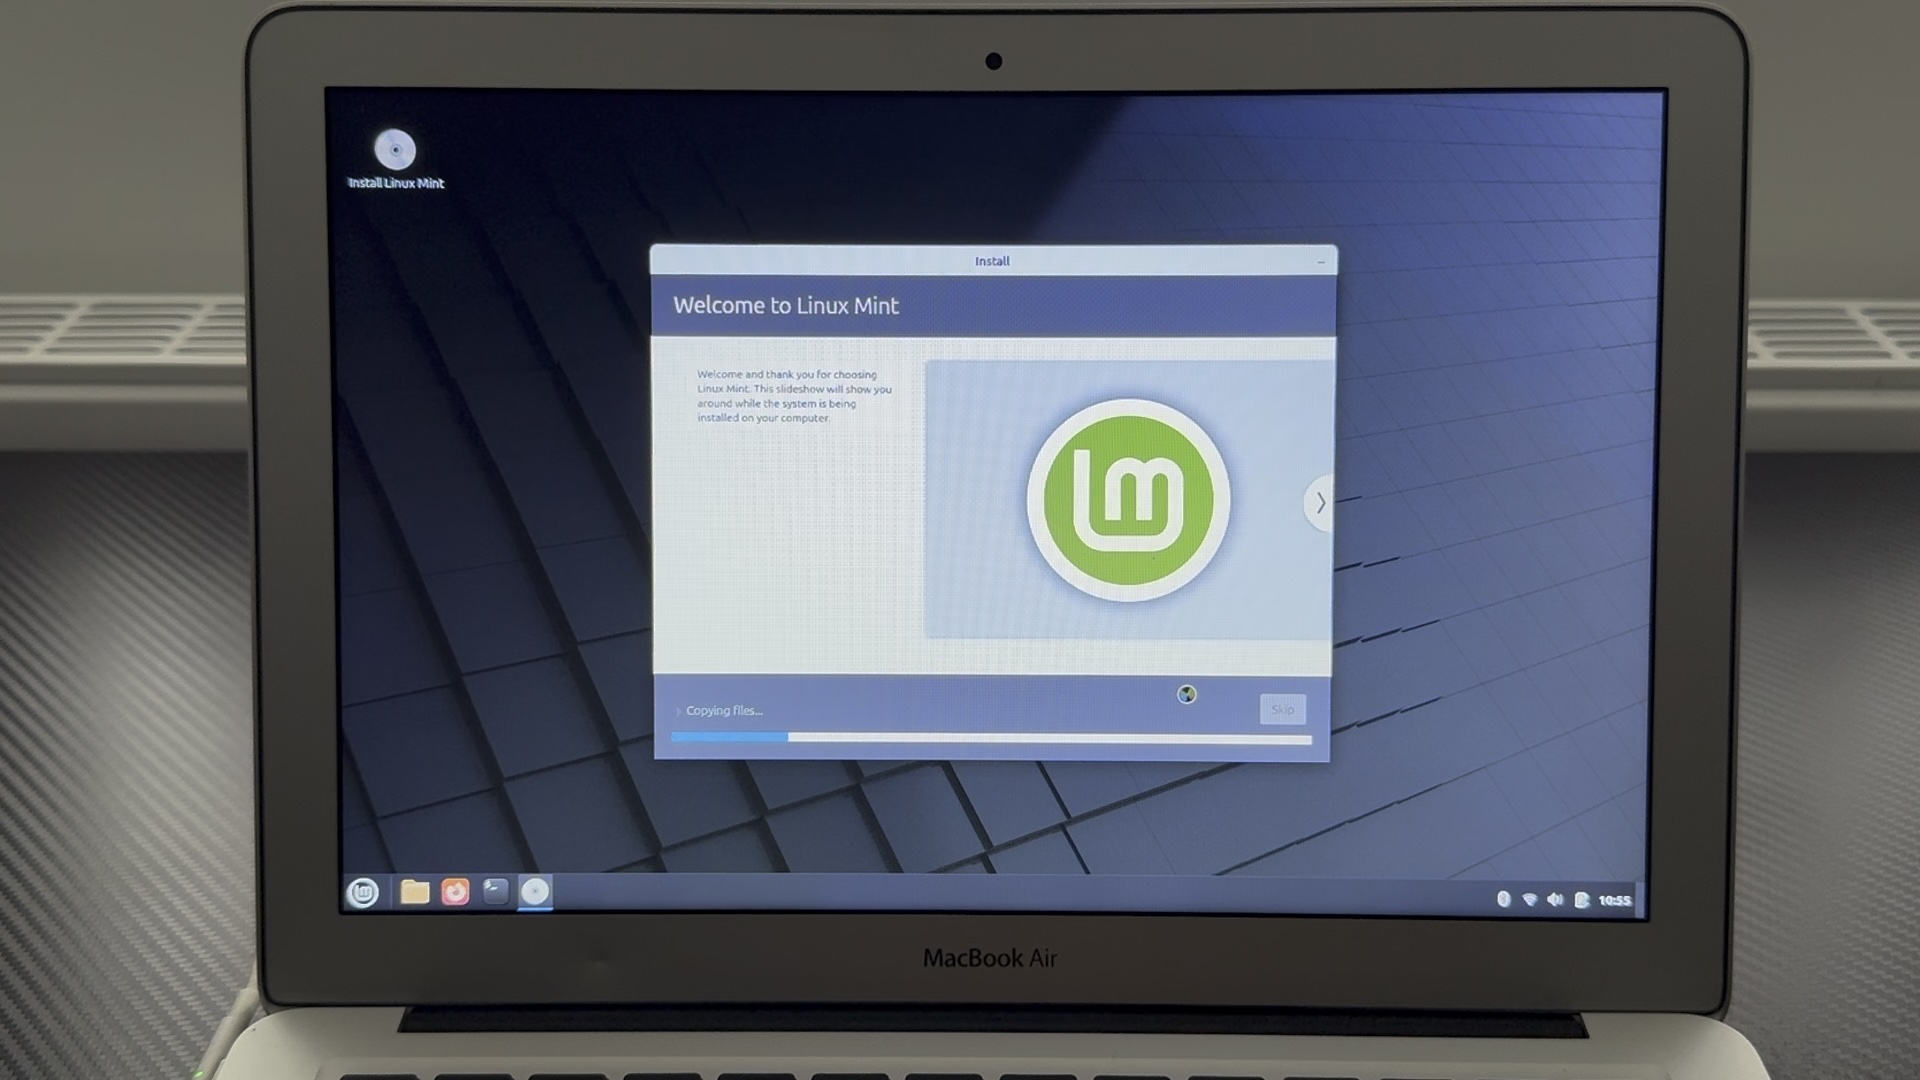
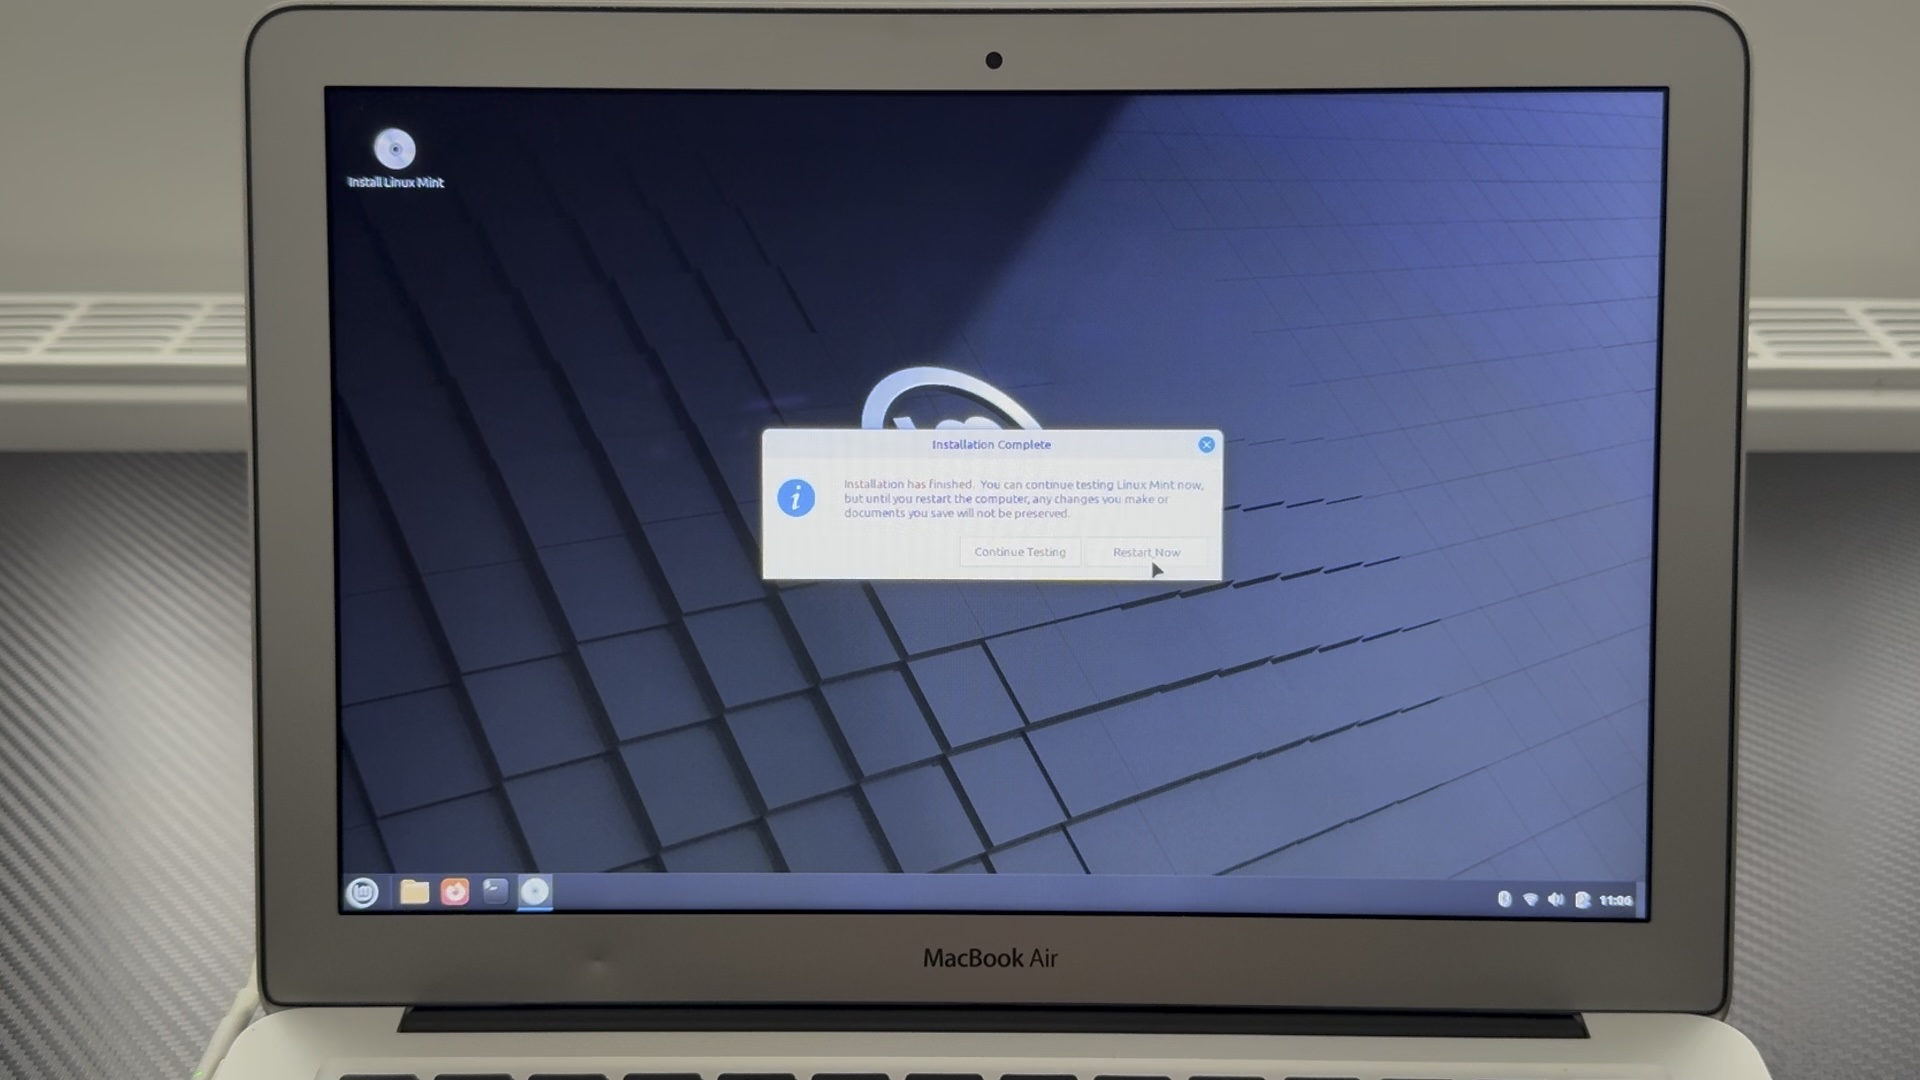
You will be shown an installation complete message. Time to reboot!
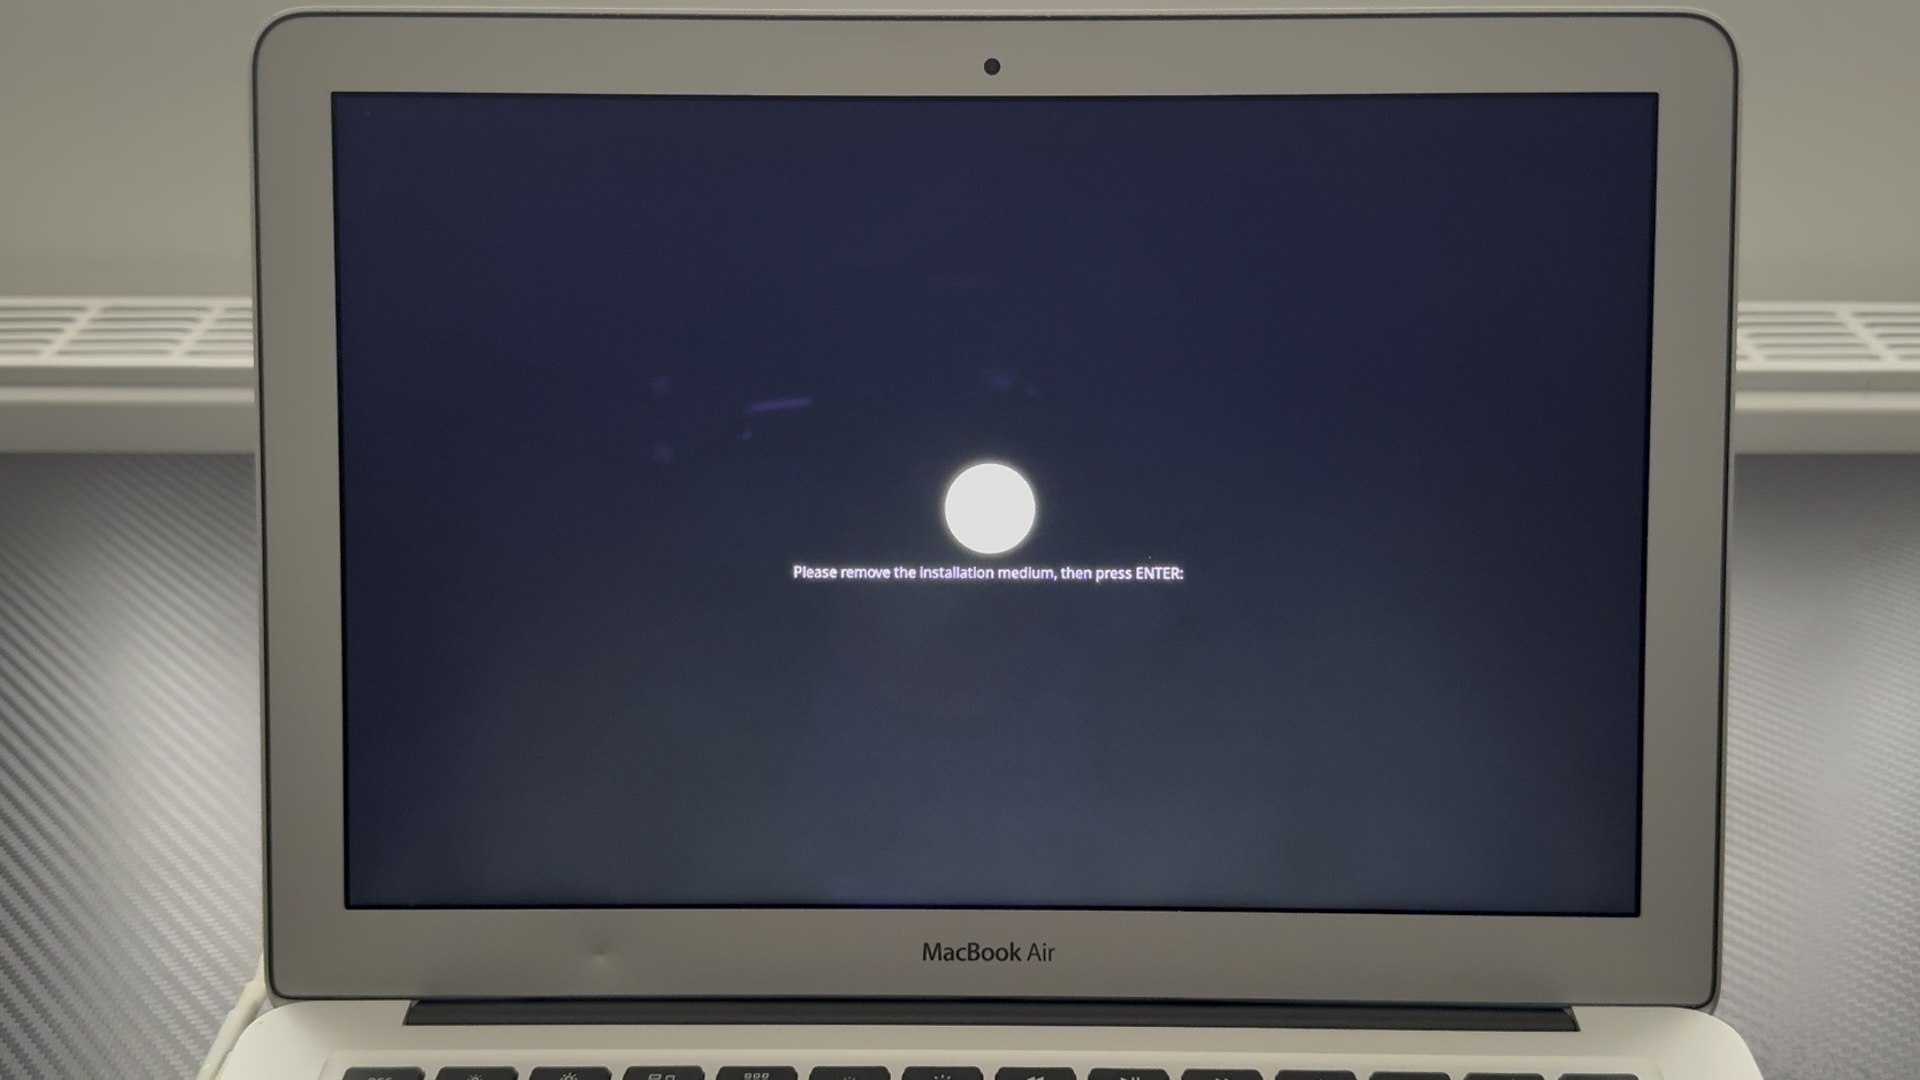
During reboot Linux Mint will prompt to remove the USB and press Enter, and it will boot to disk, not USB.
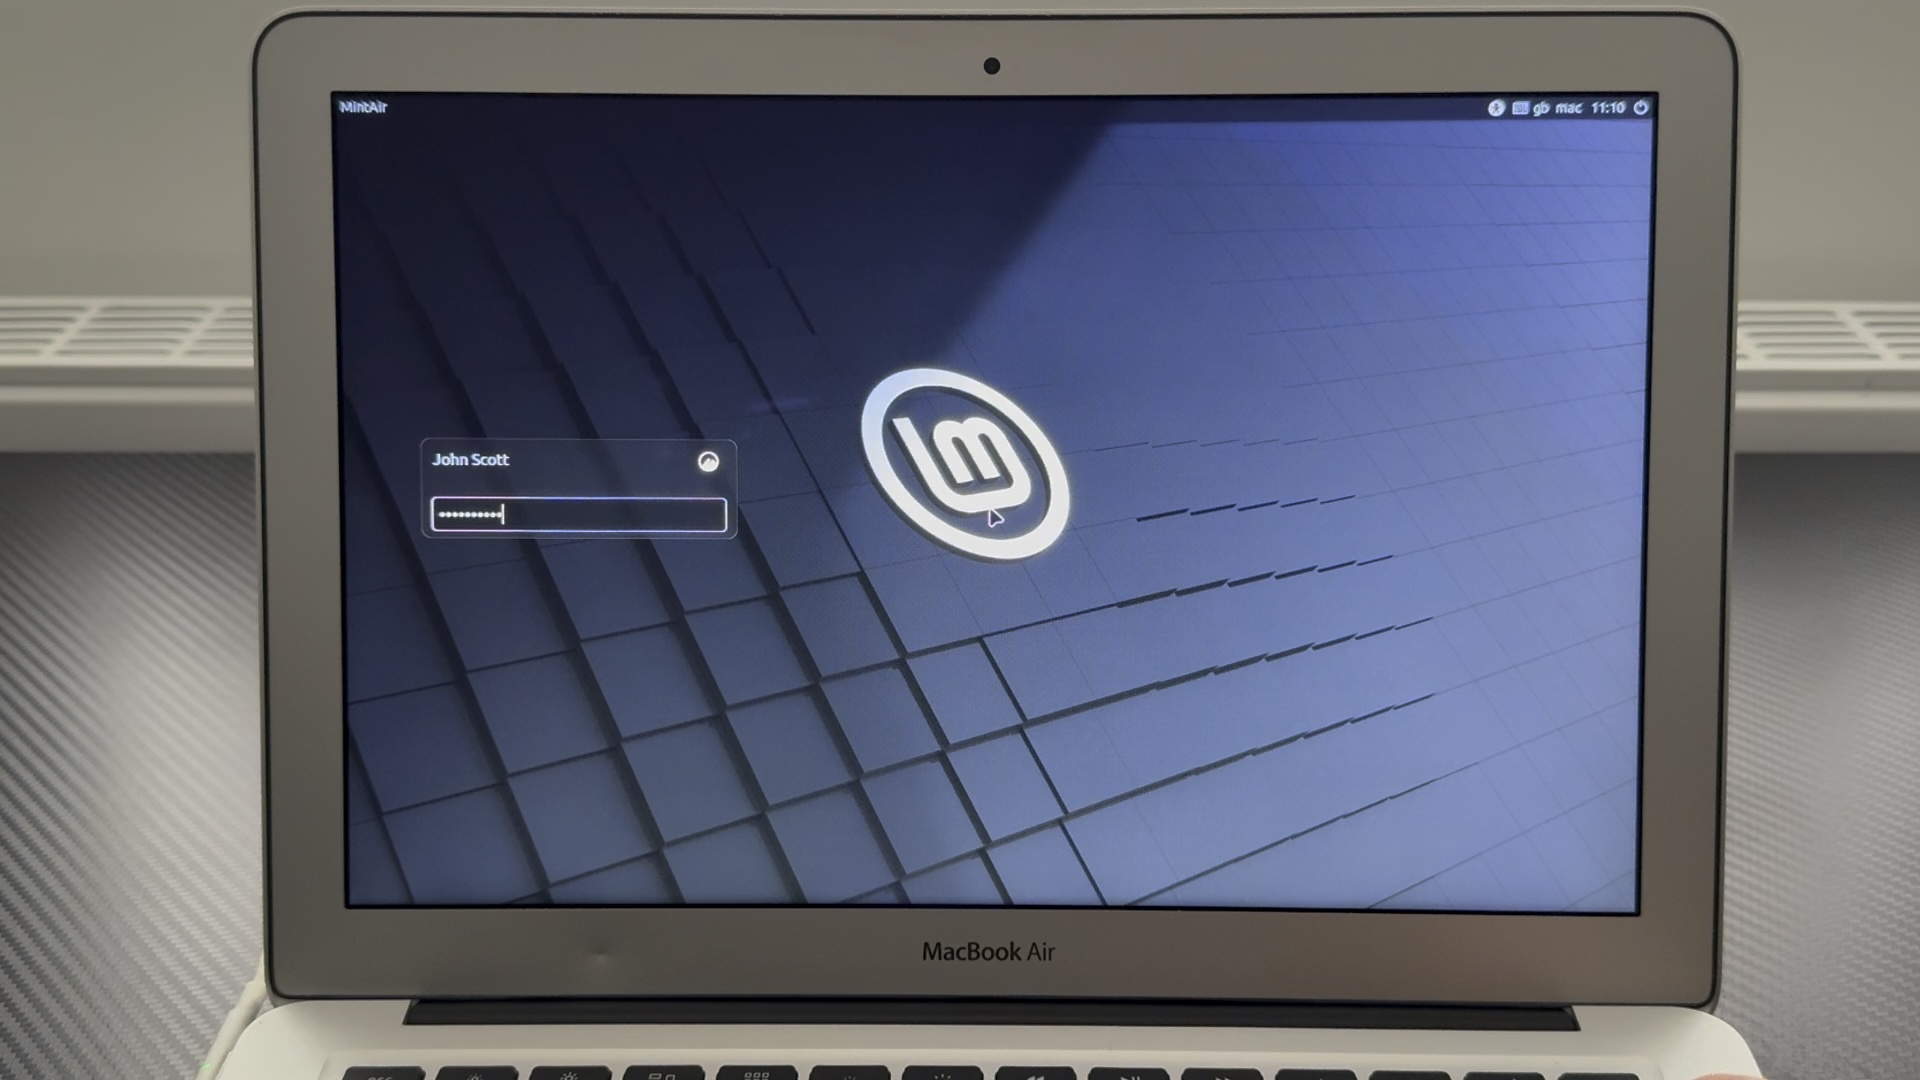
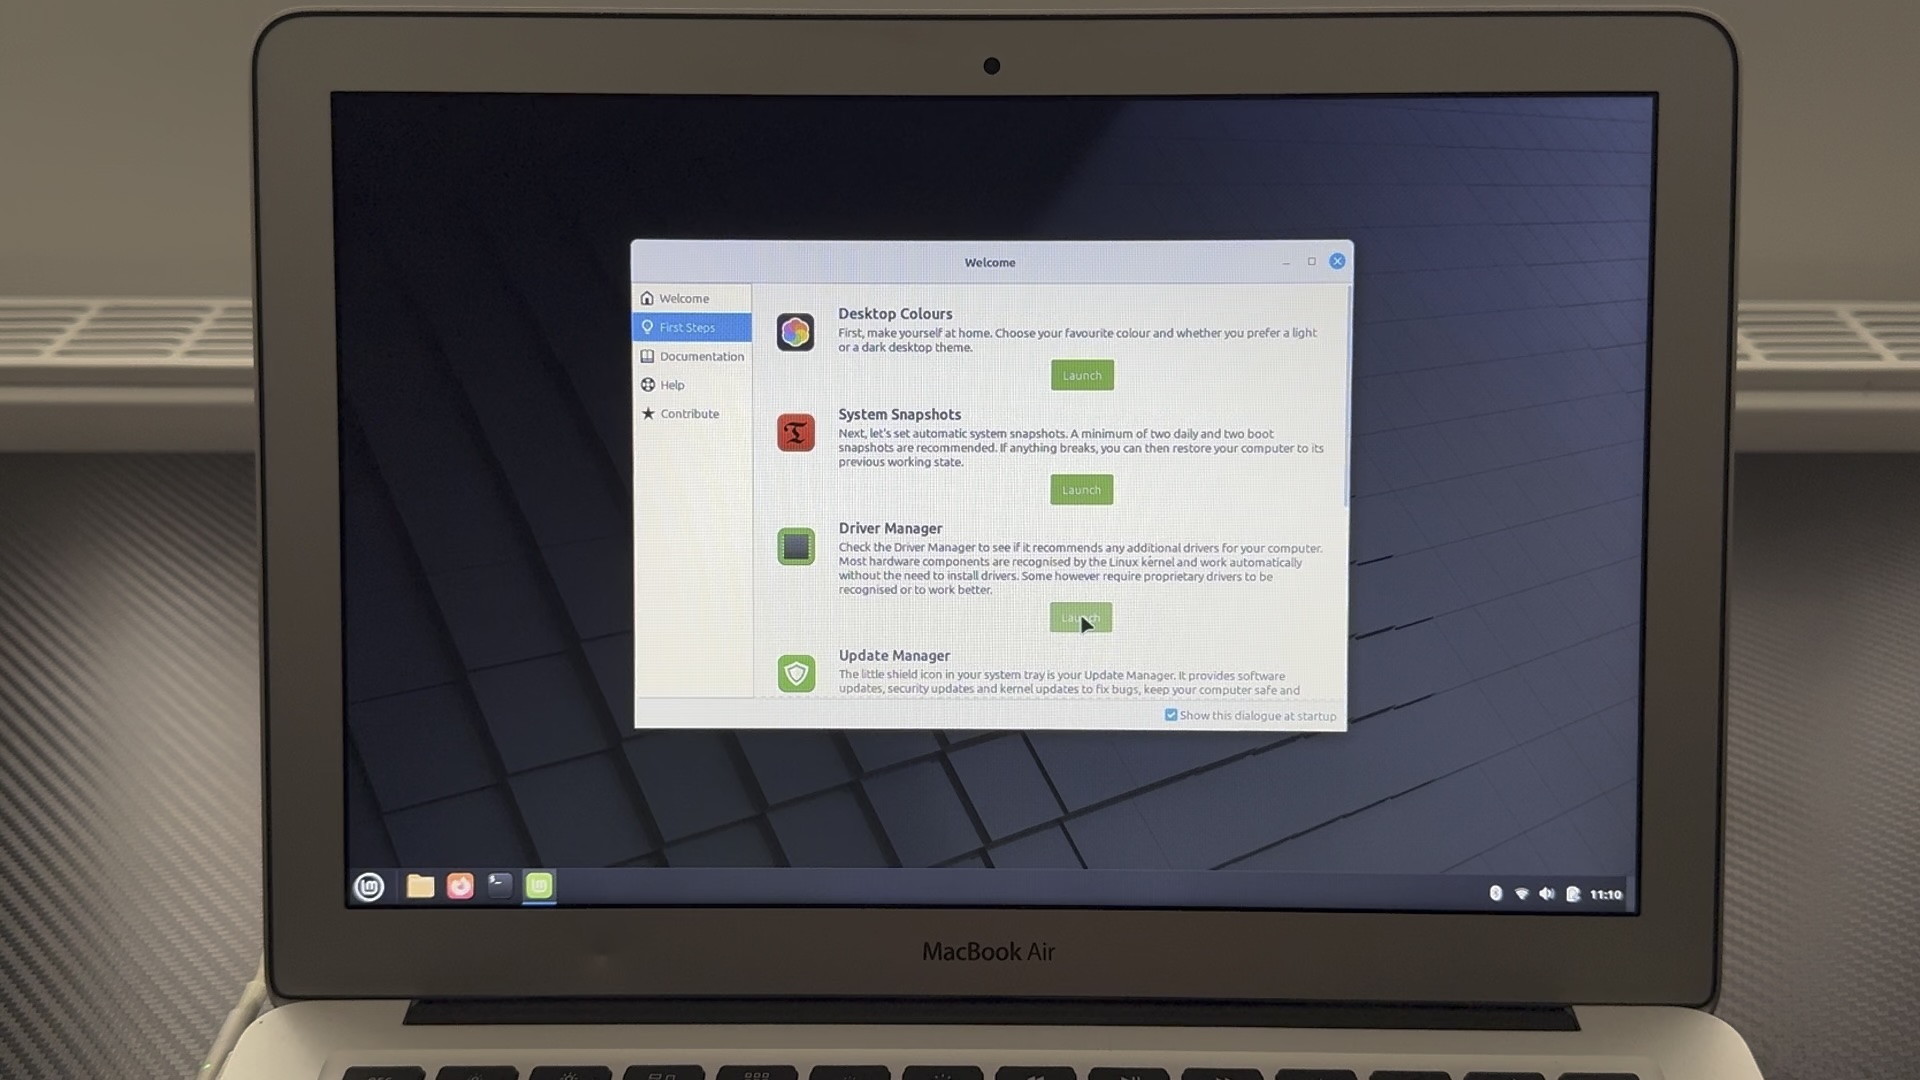
Update Mint on Air
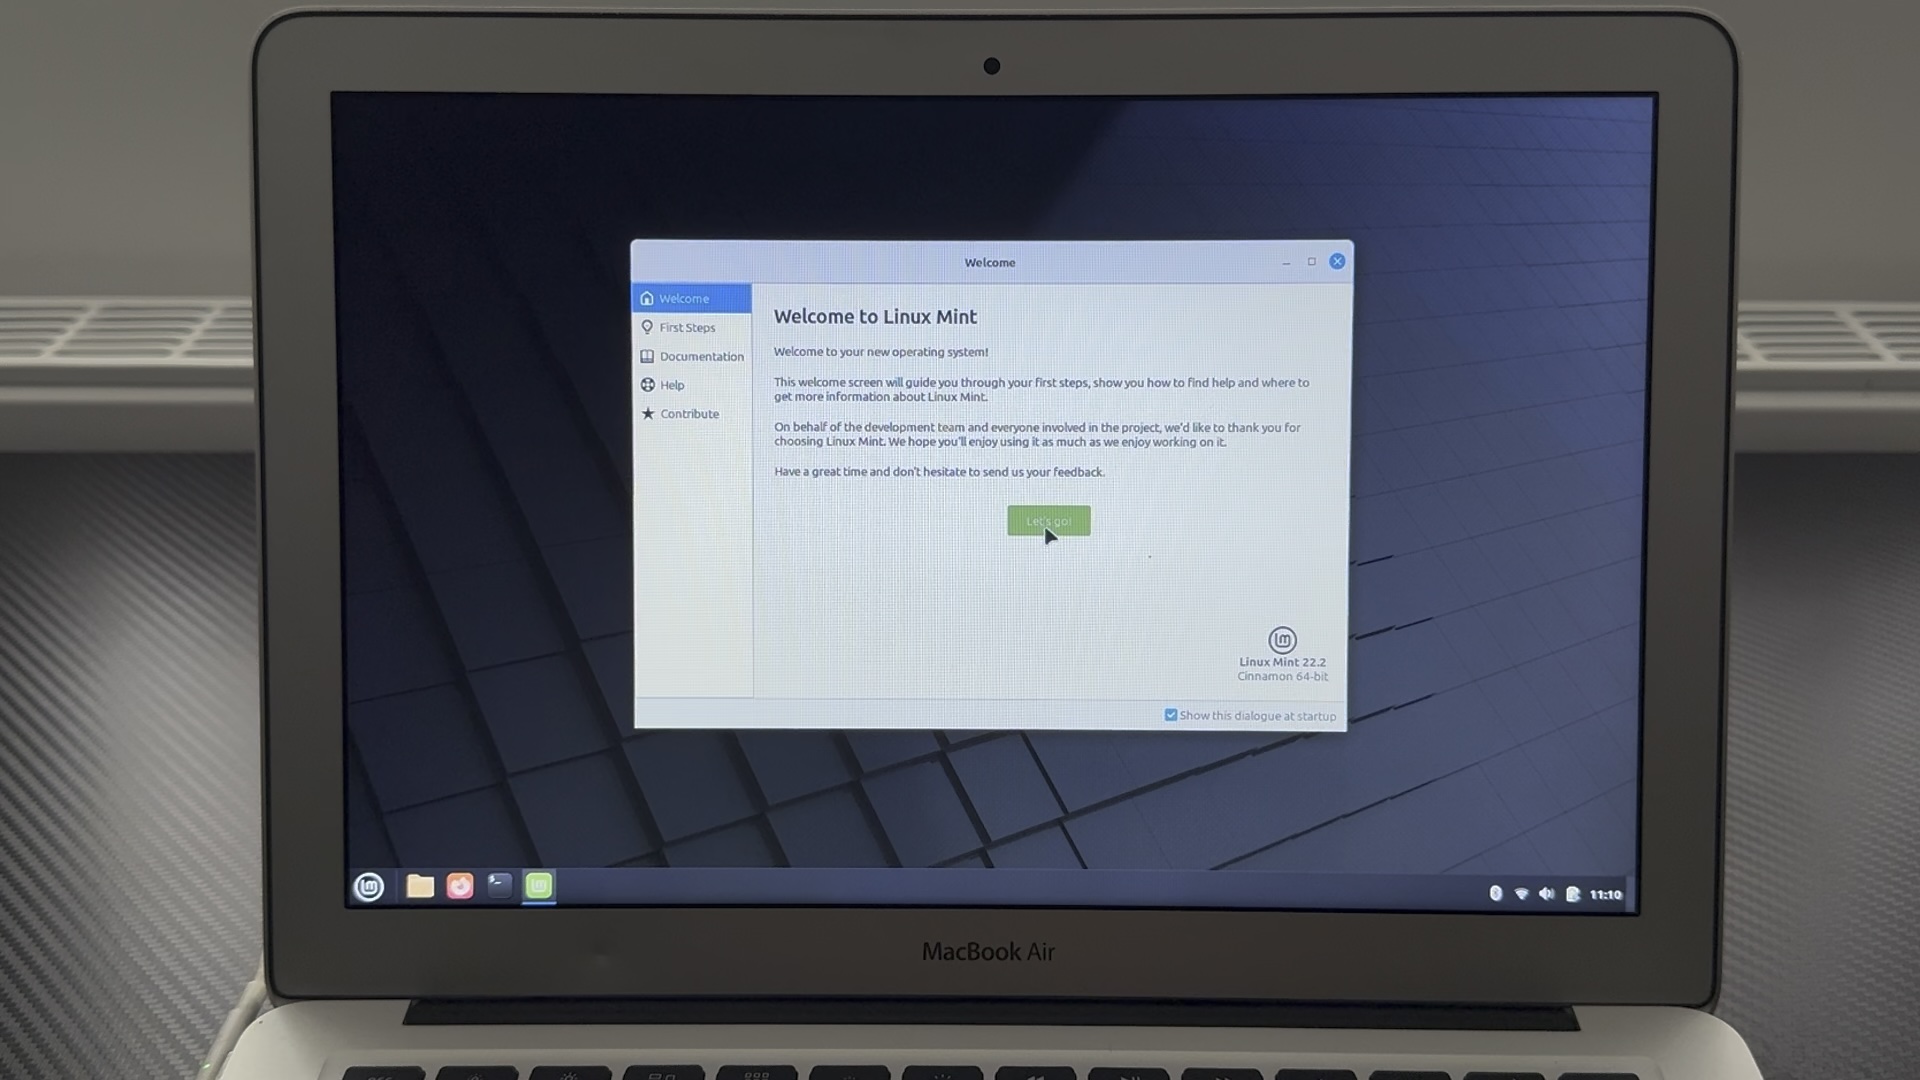
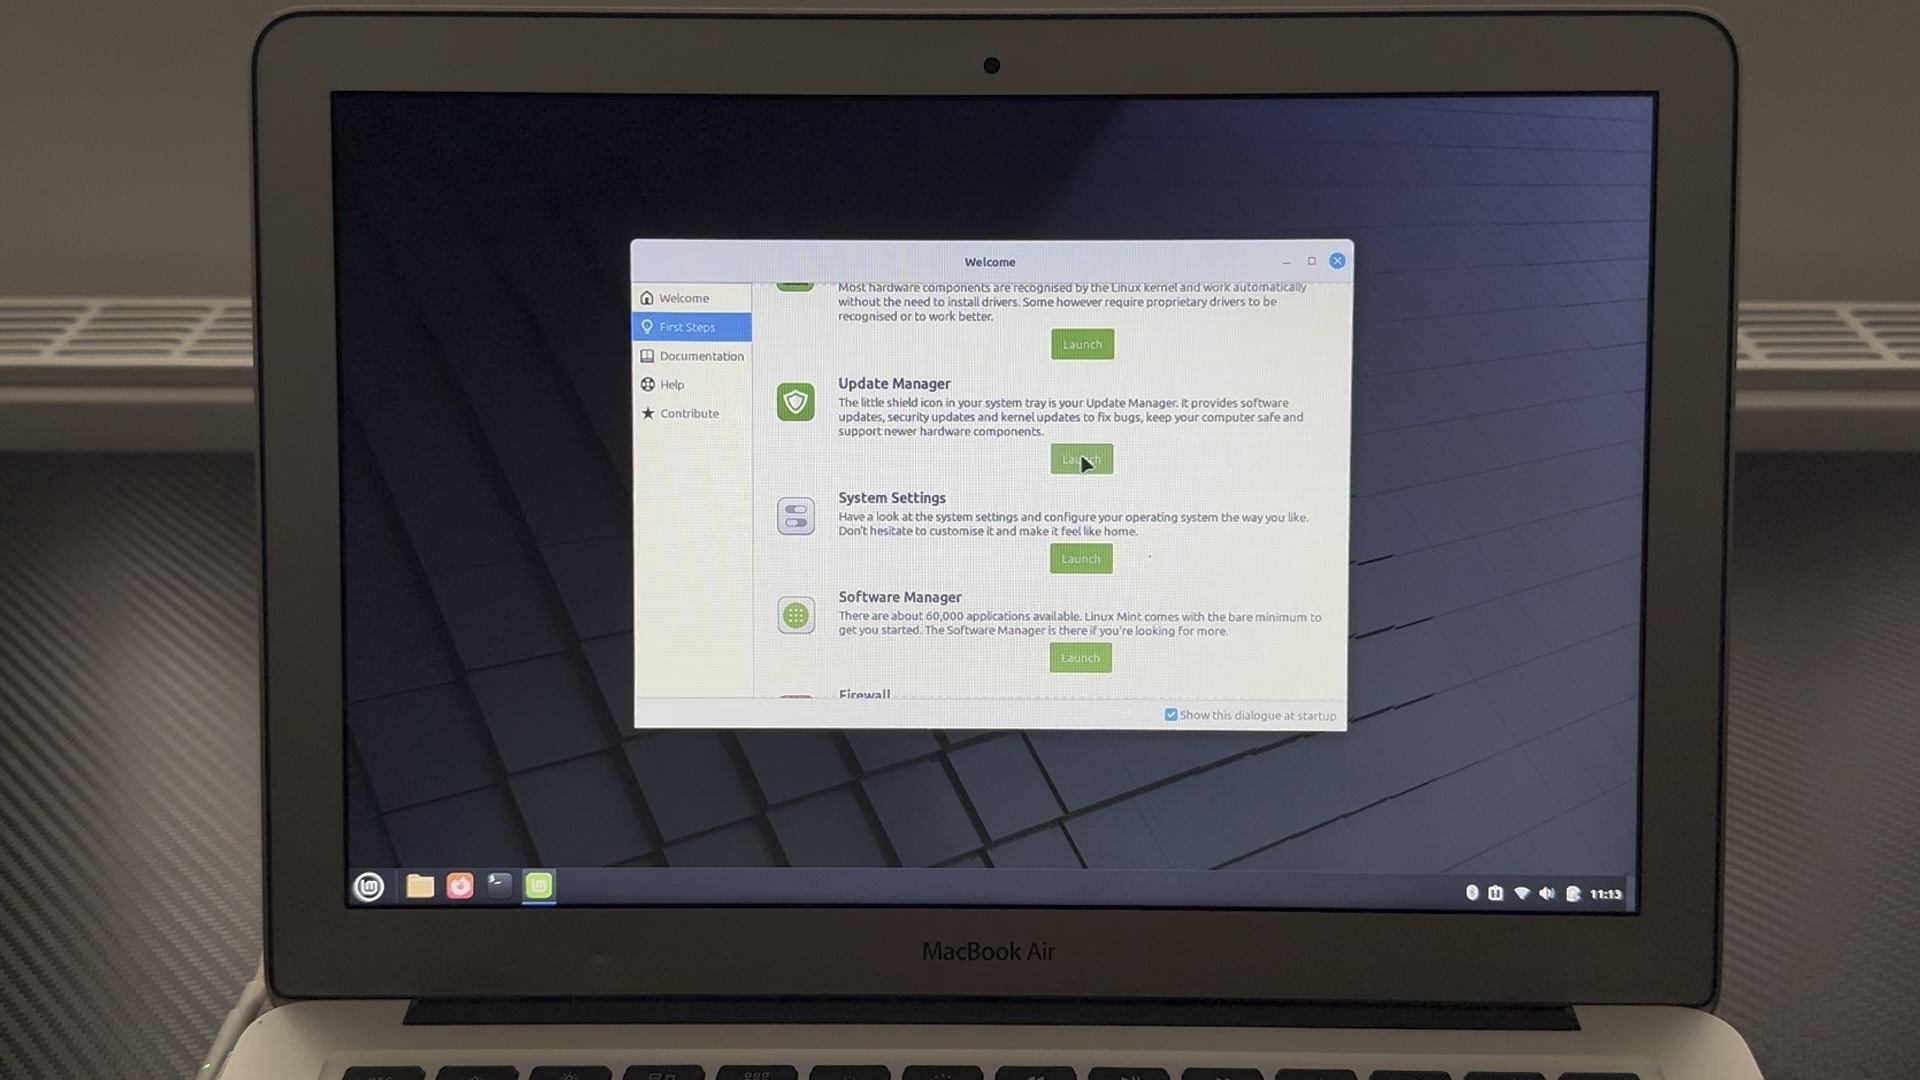
A few admin things can be done at this point. Click Let's Go! and choose driver manager.
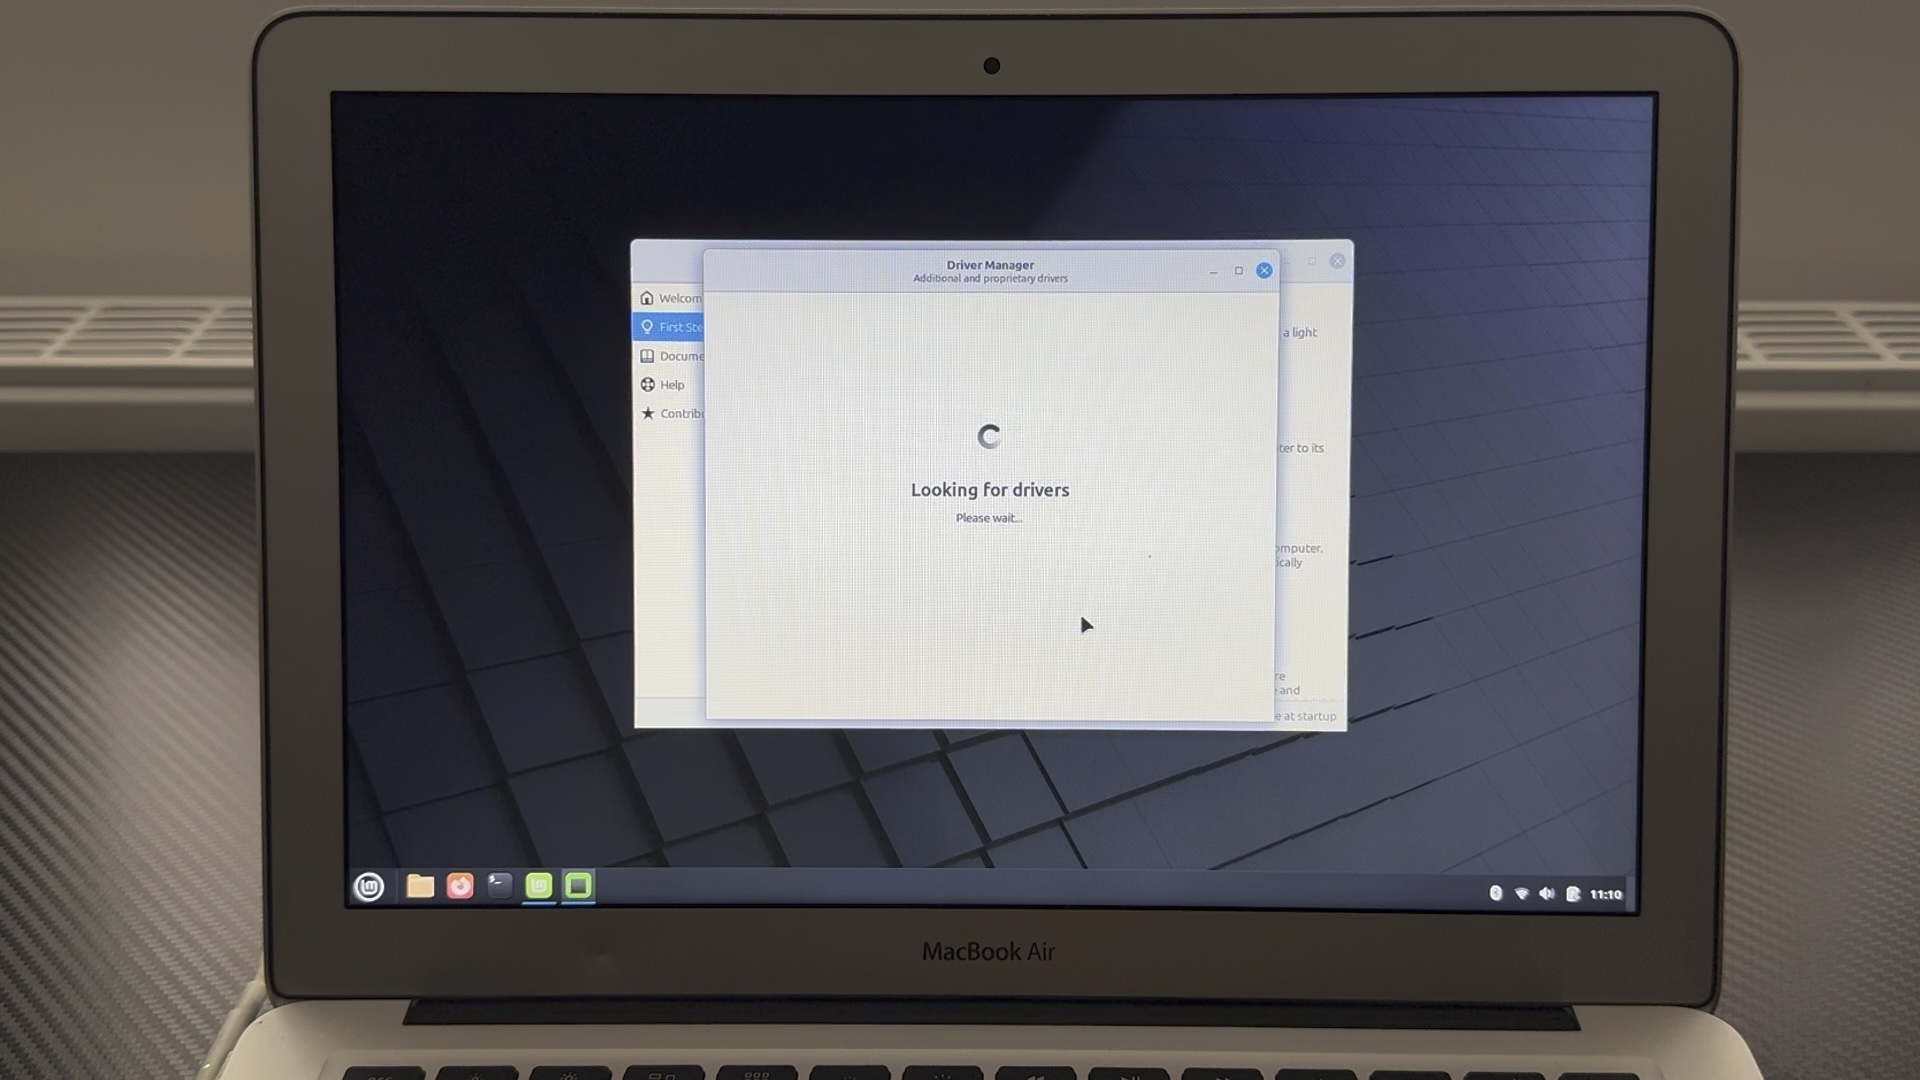

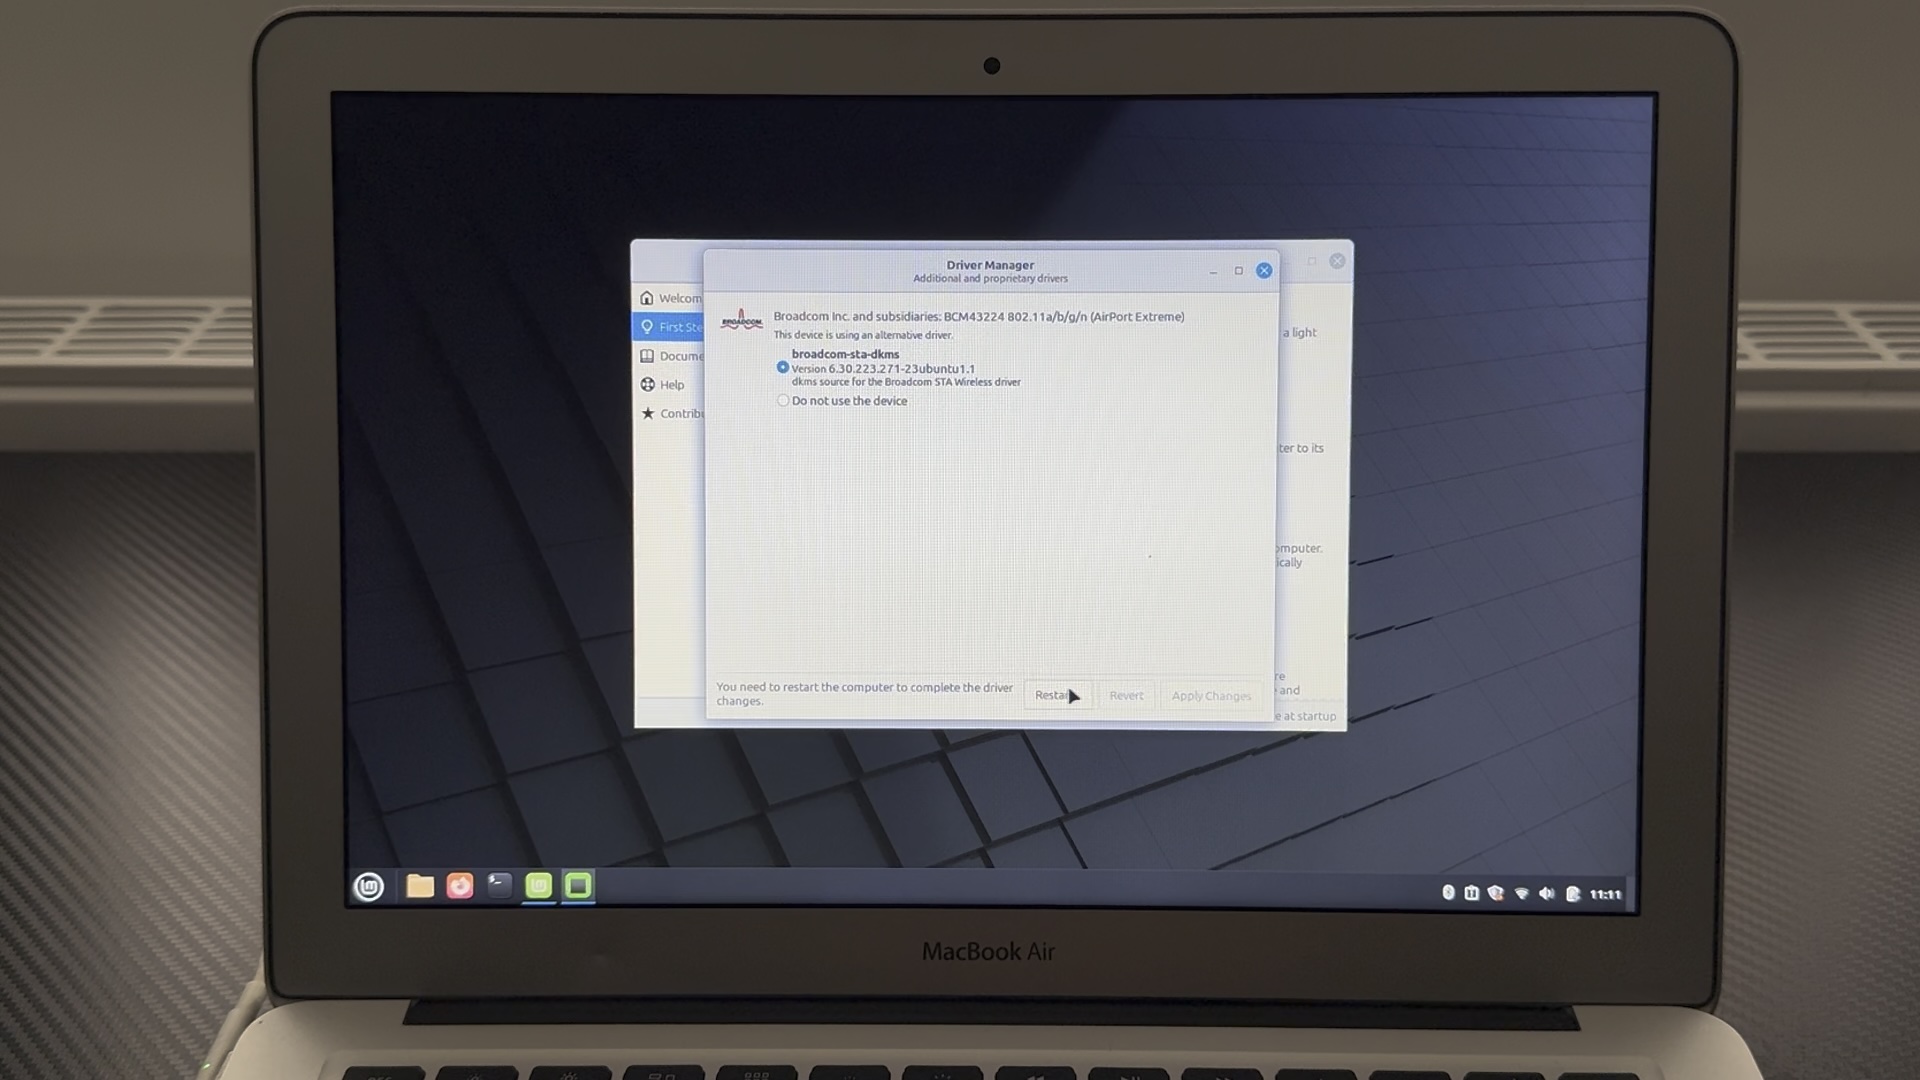
Mine found some updated Wi-Fi drivers which I installed. After reboot, I had to re-enter Wifi details to reconnect.
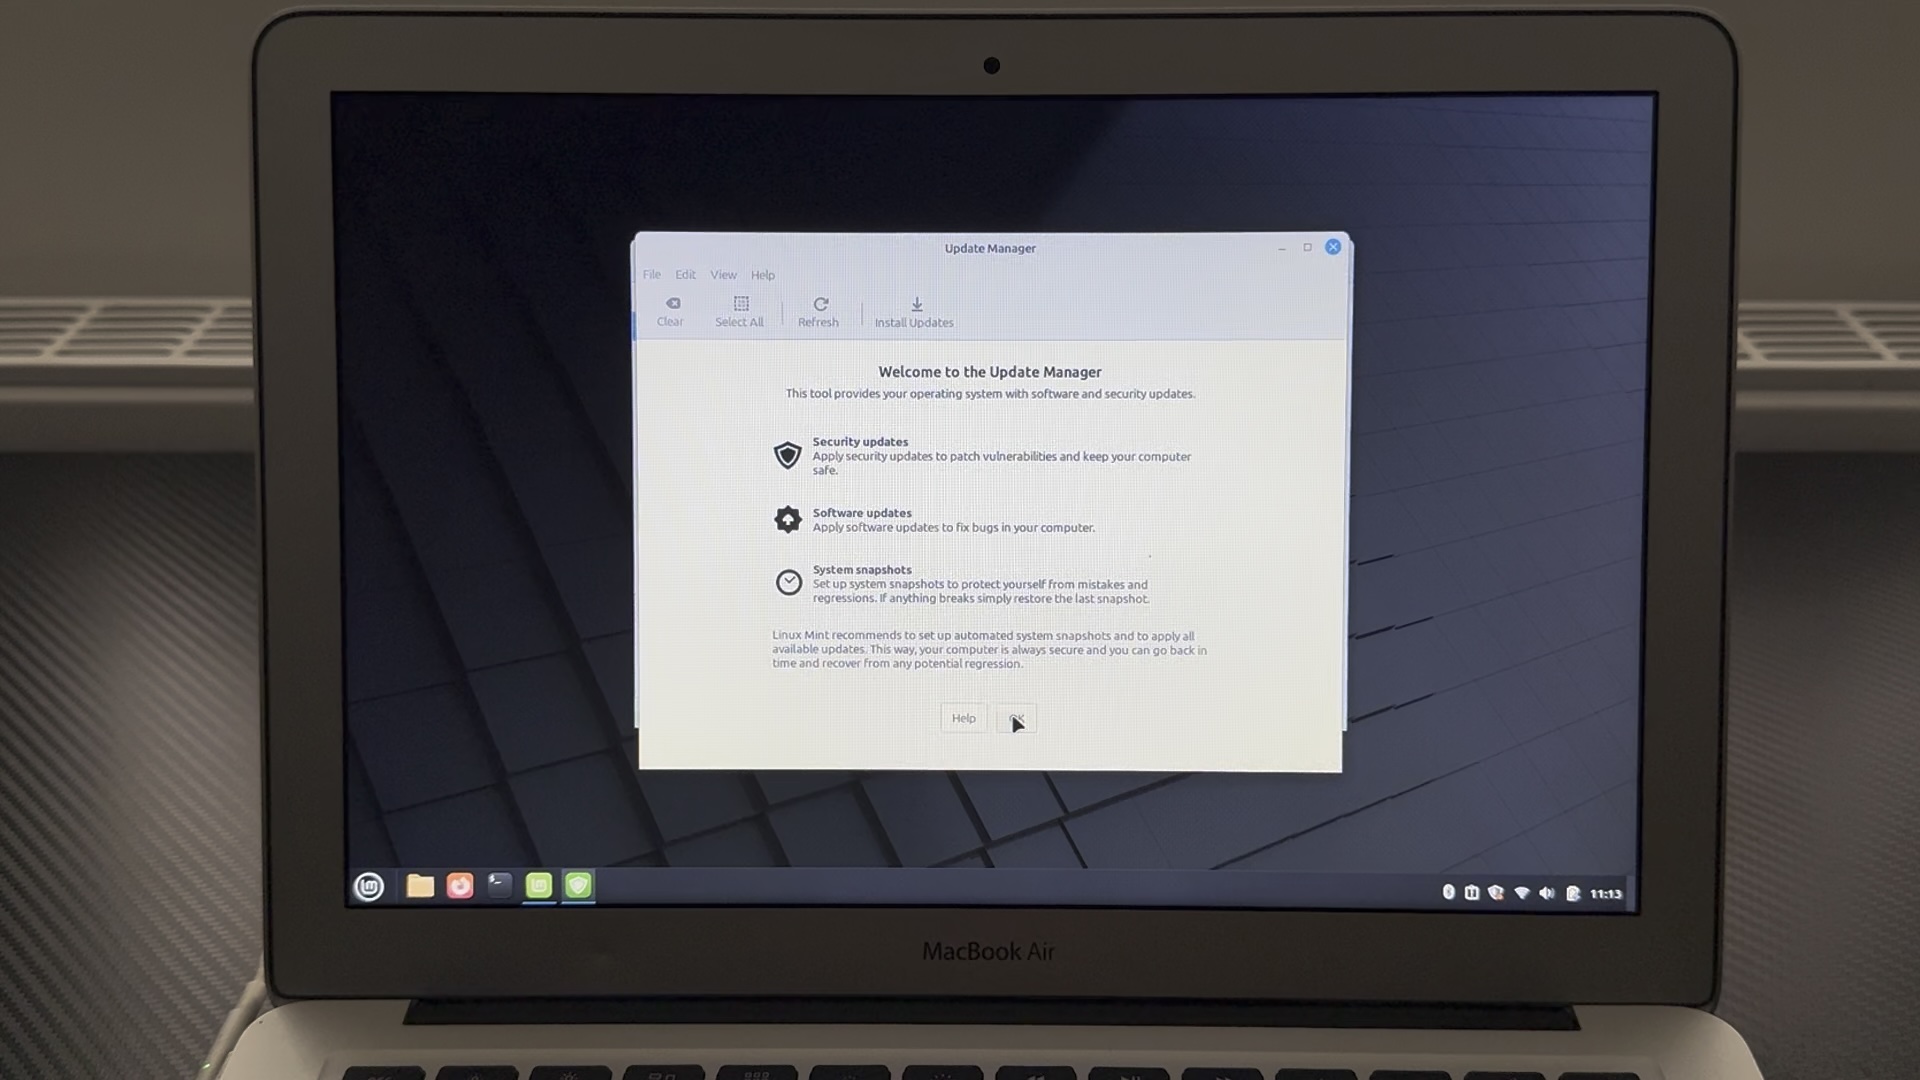
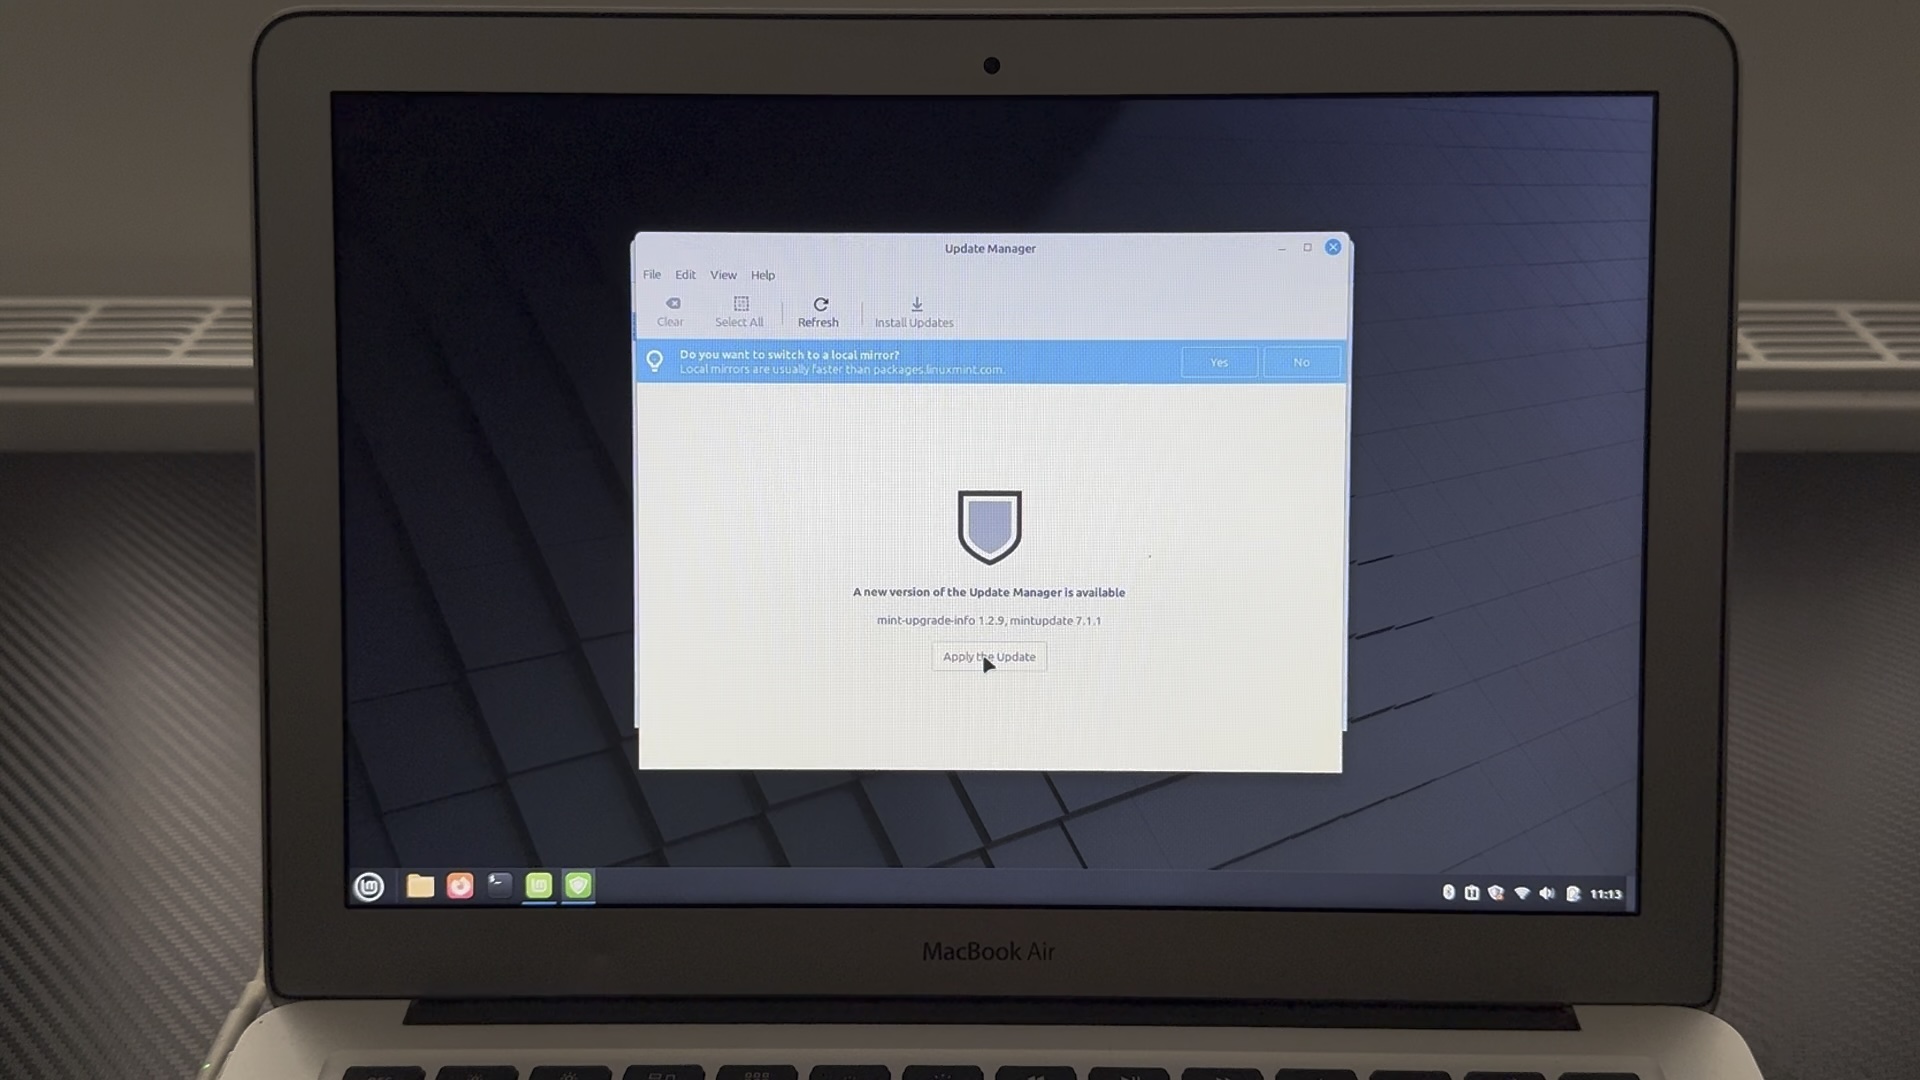
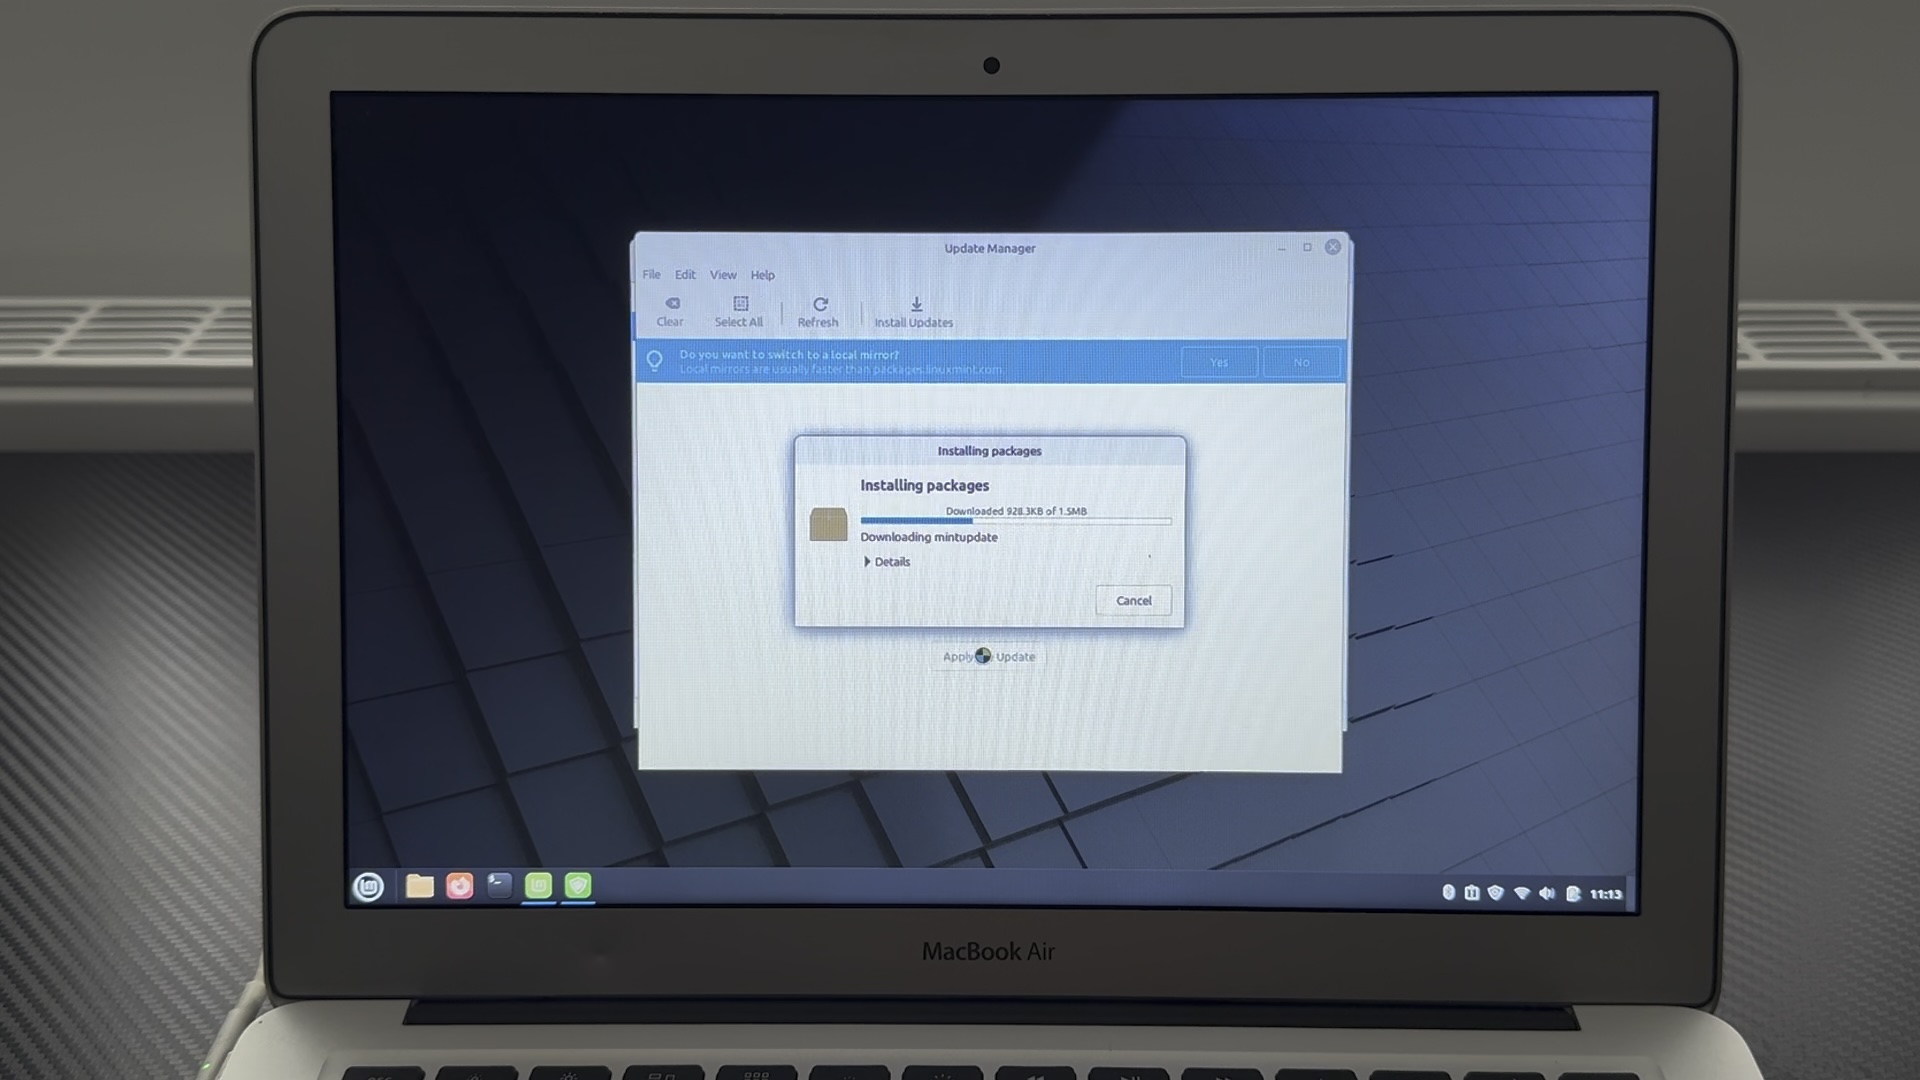
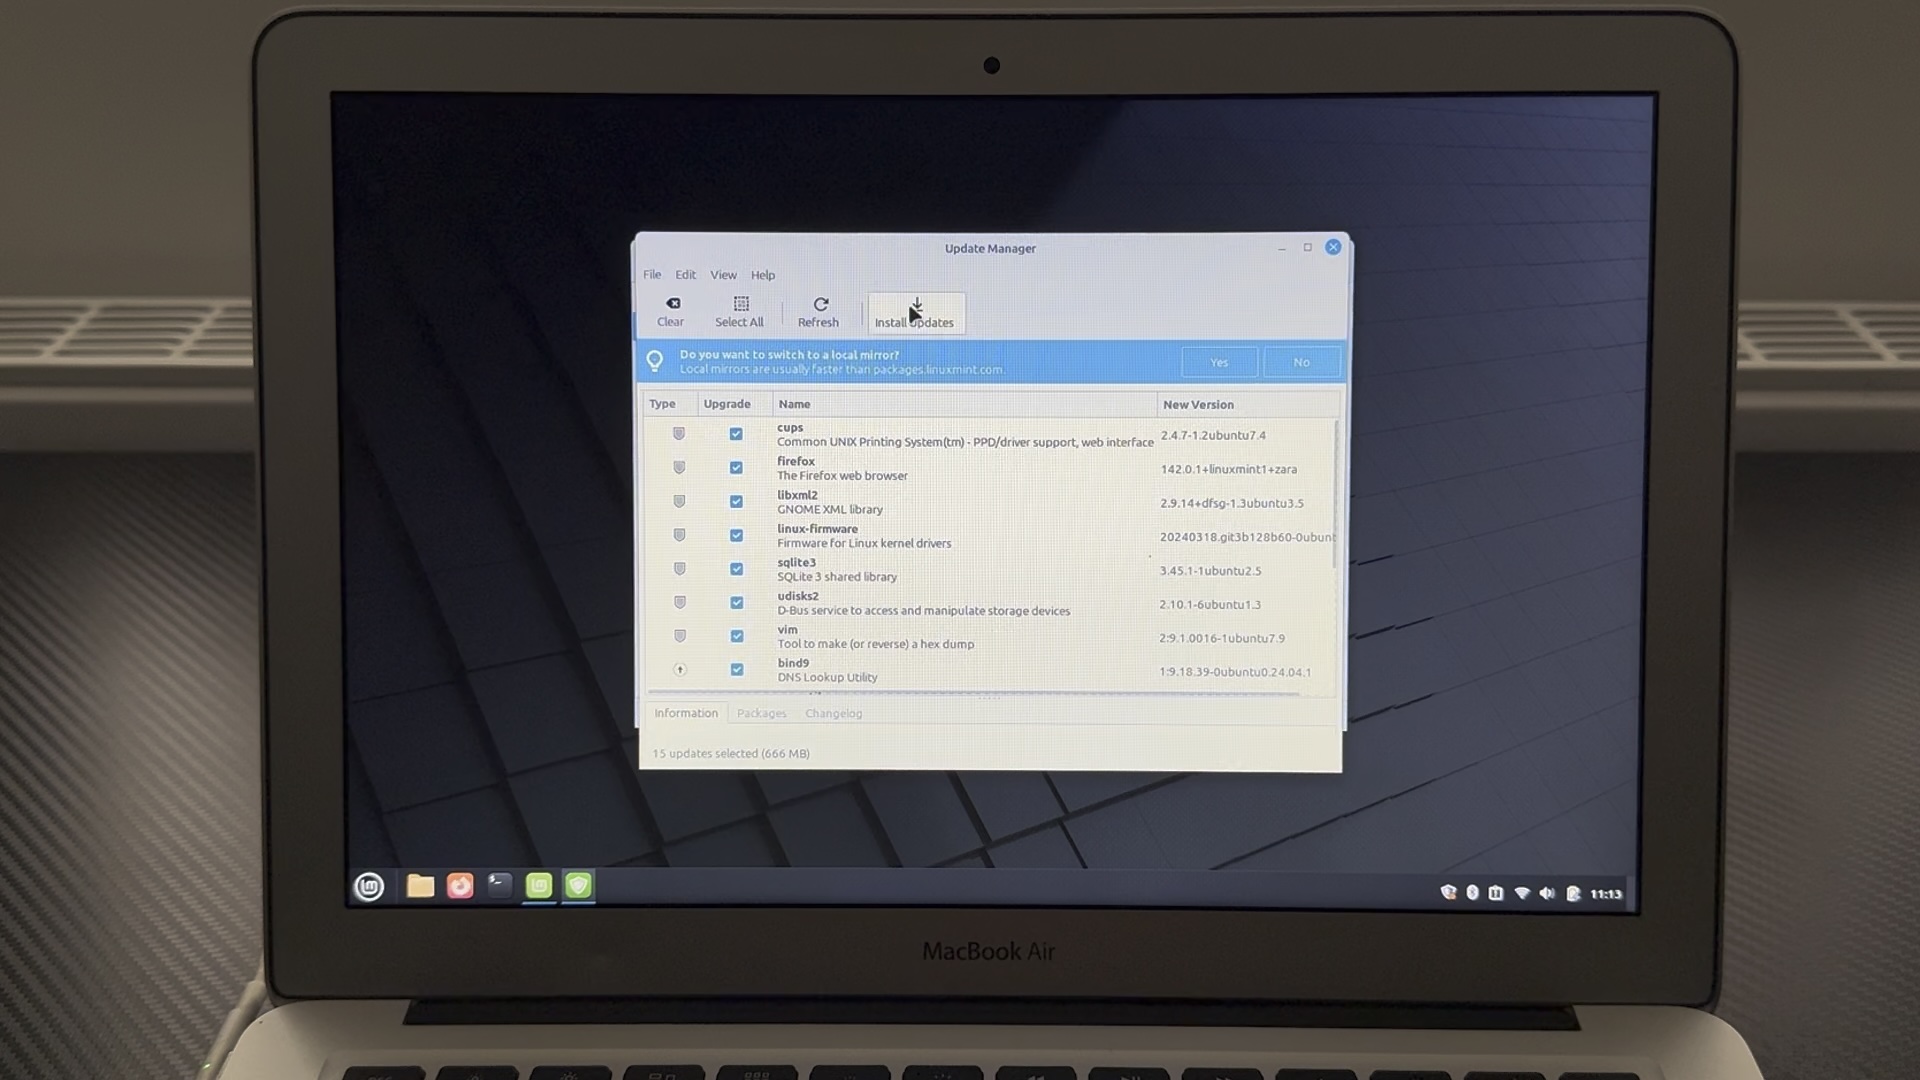
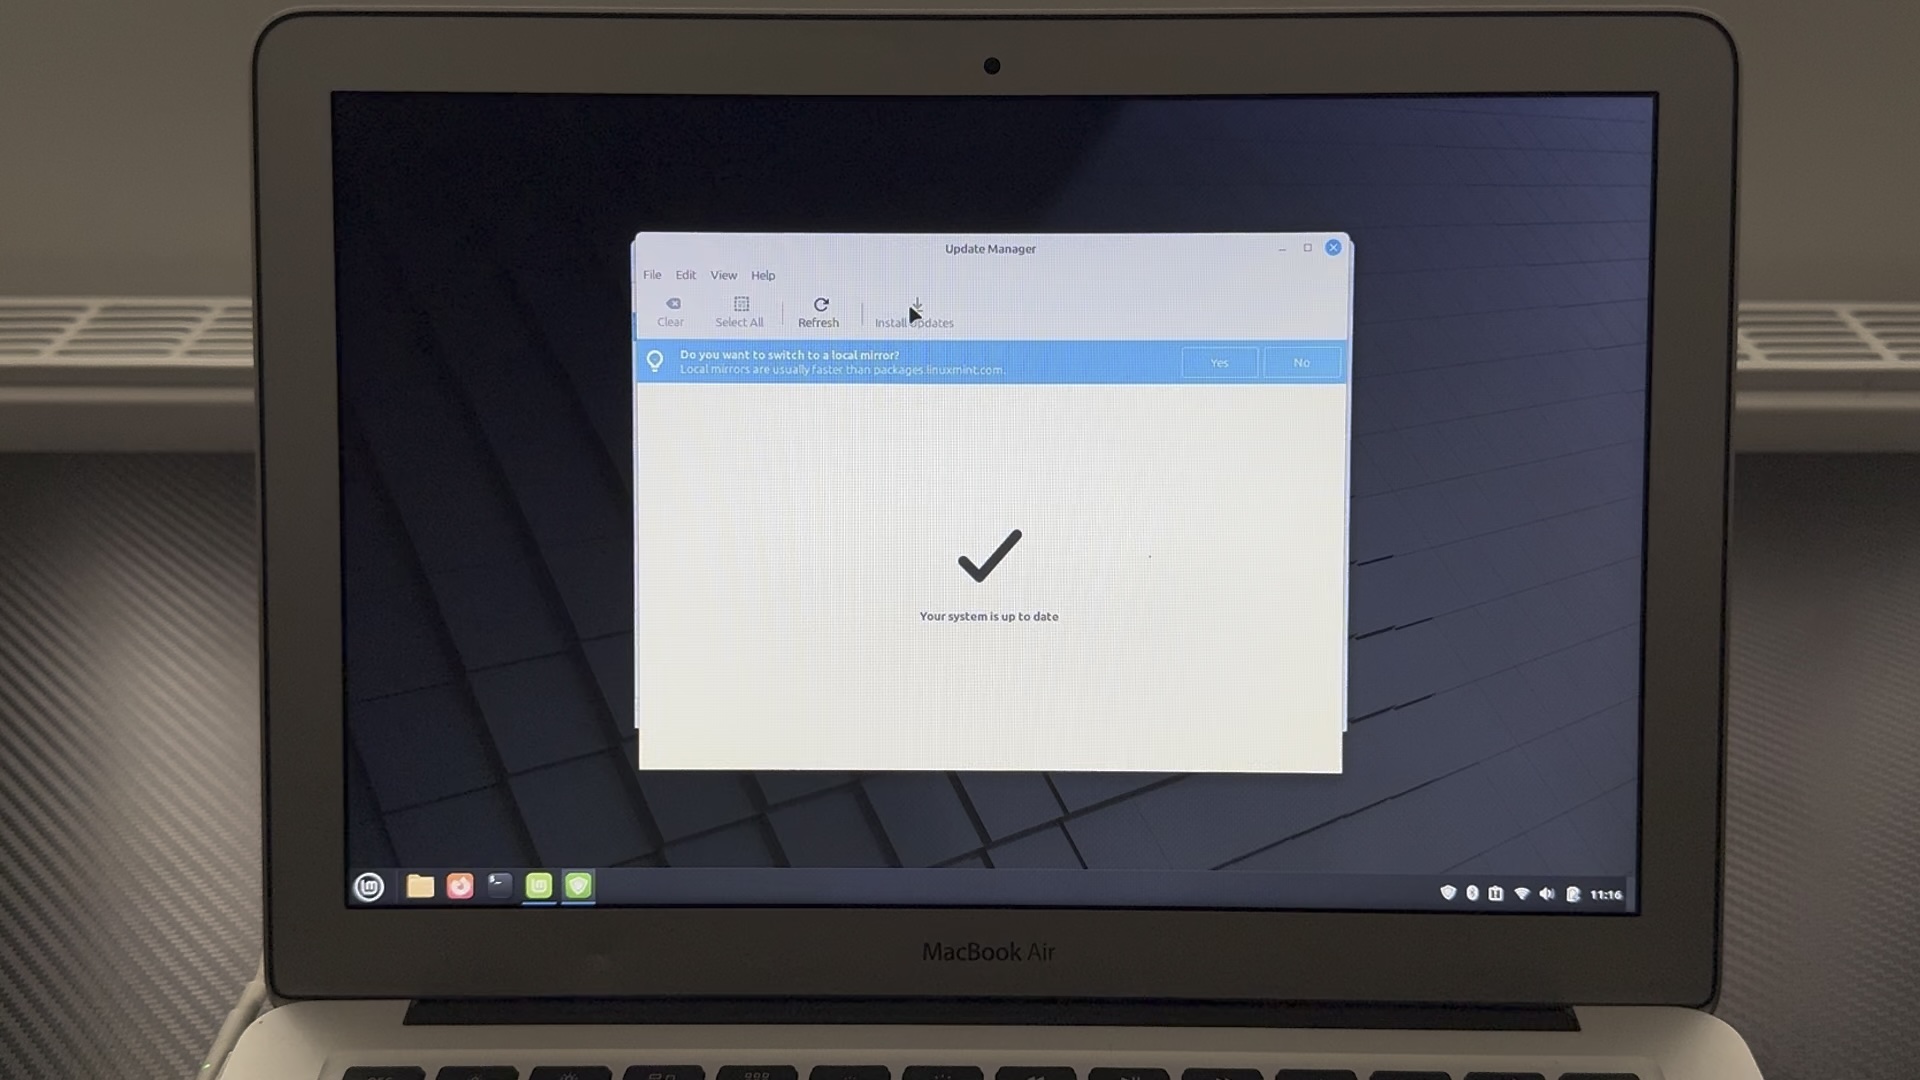
Next up I chose Update Manager. Update Manager itself needed an update, then I chose to update everything it found.
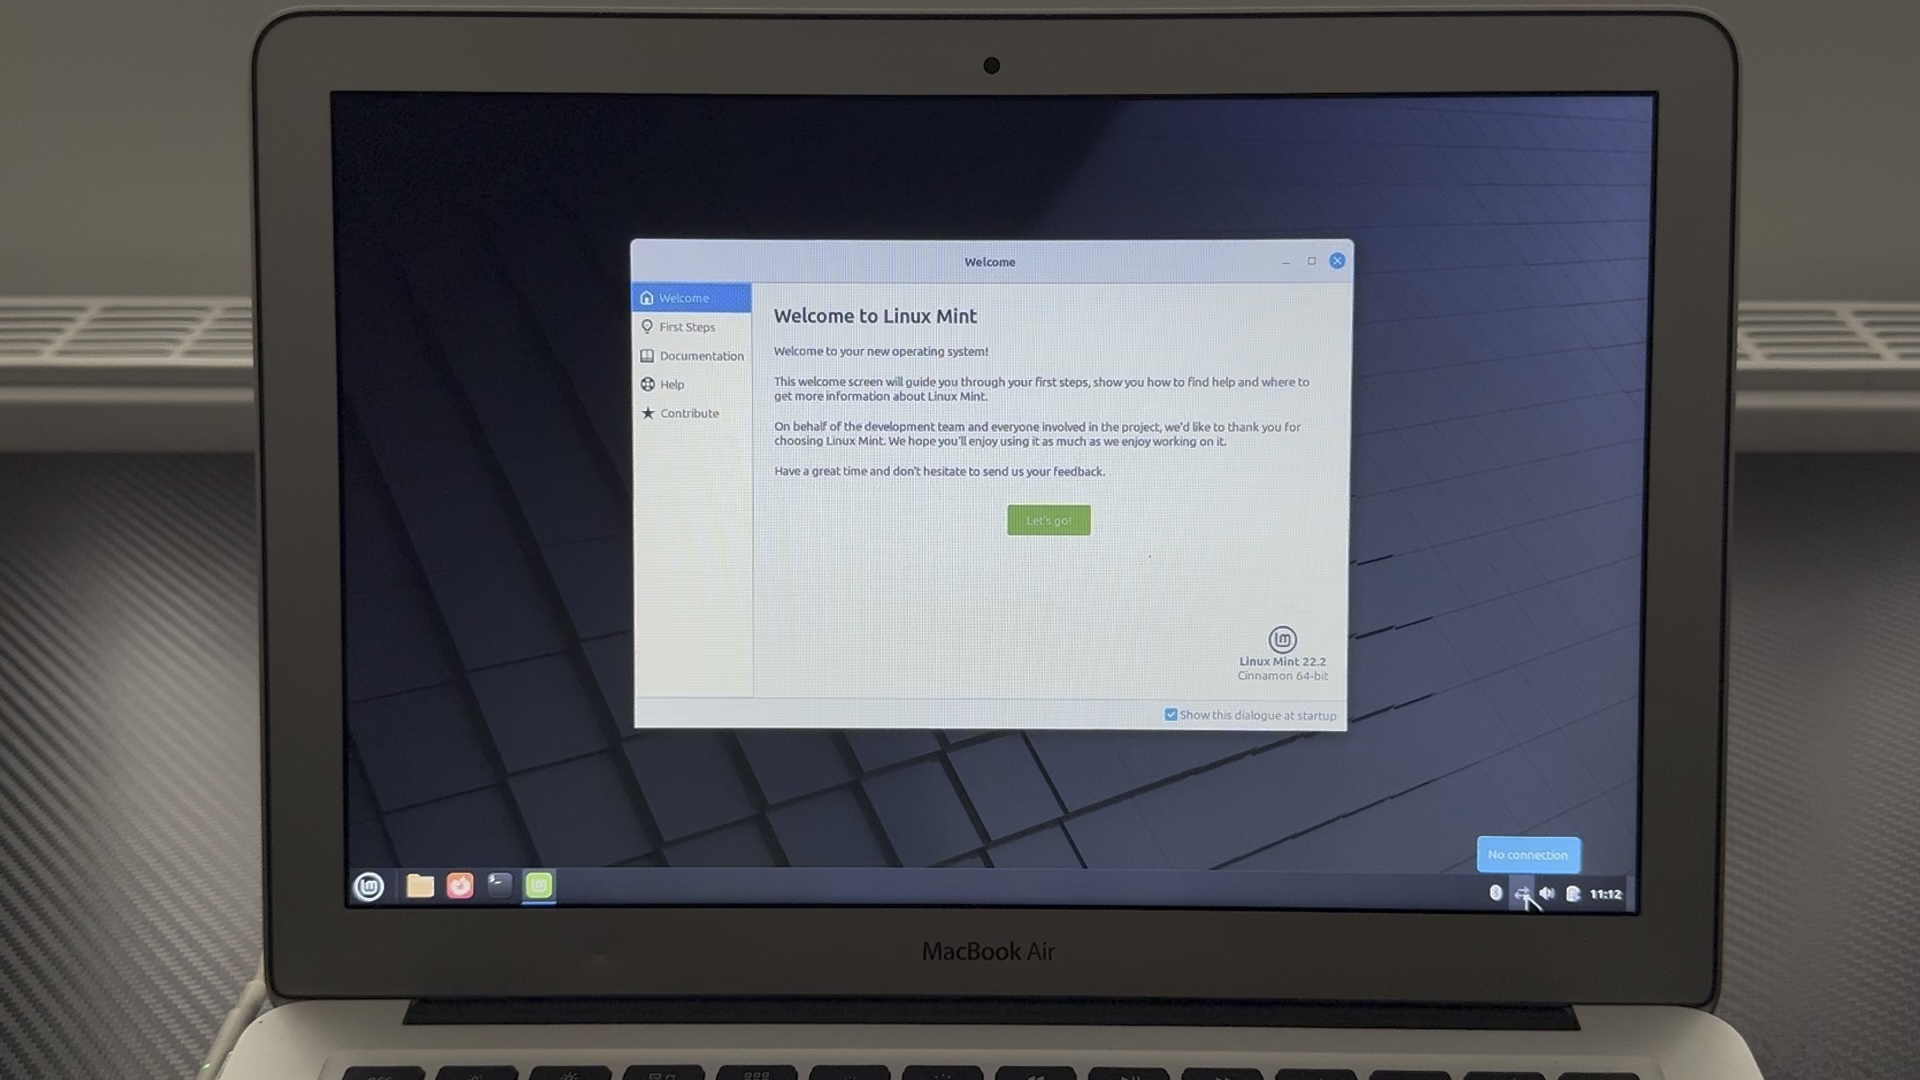
Welcome to Linux Mint on 2011 MacBook Air
After all the driver and software updates, Linux Mint on my 2011 MacBook Air really runs.
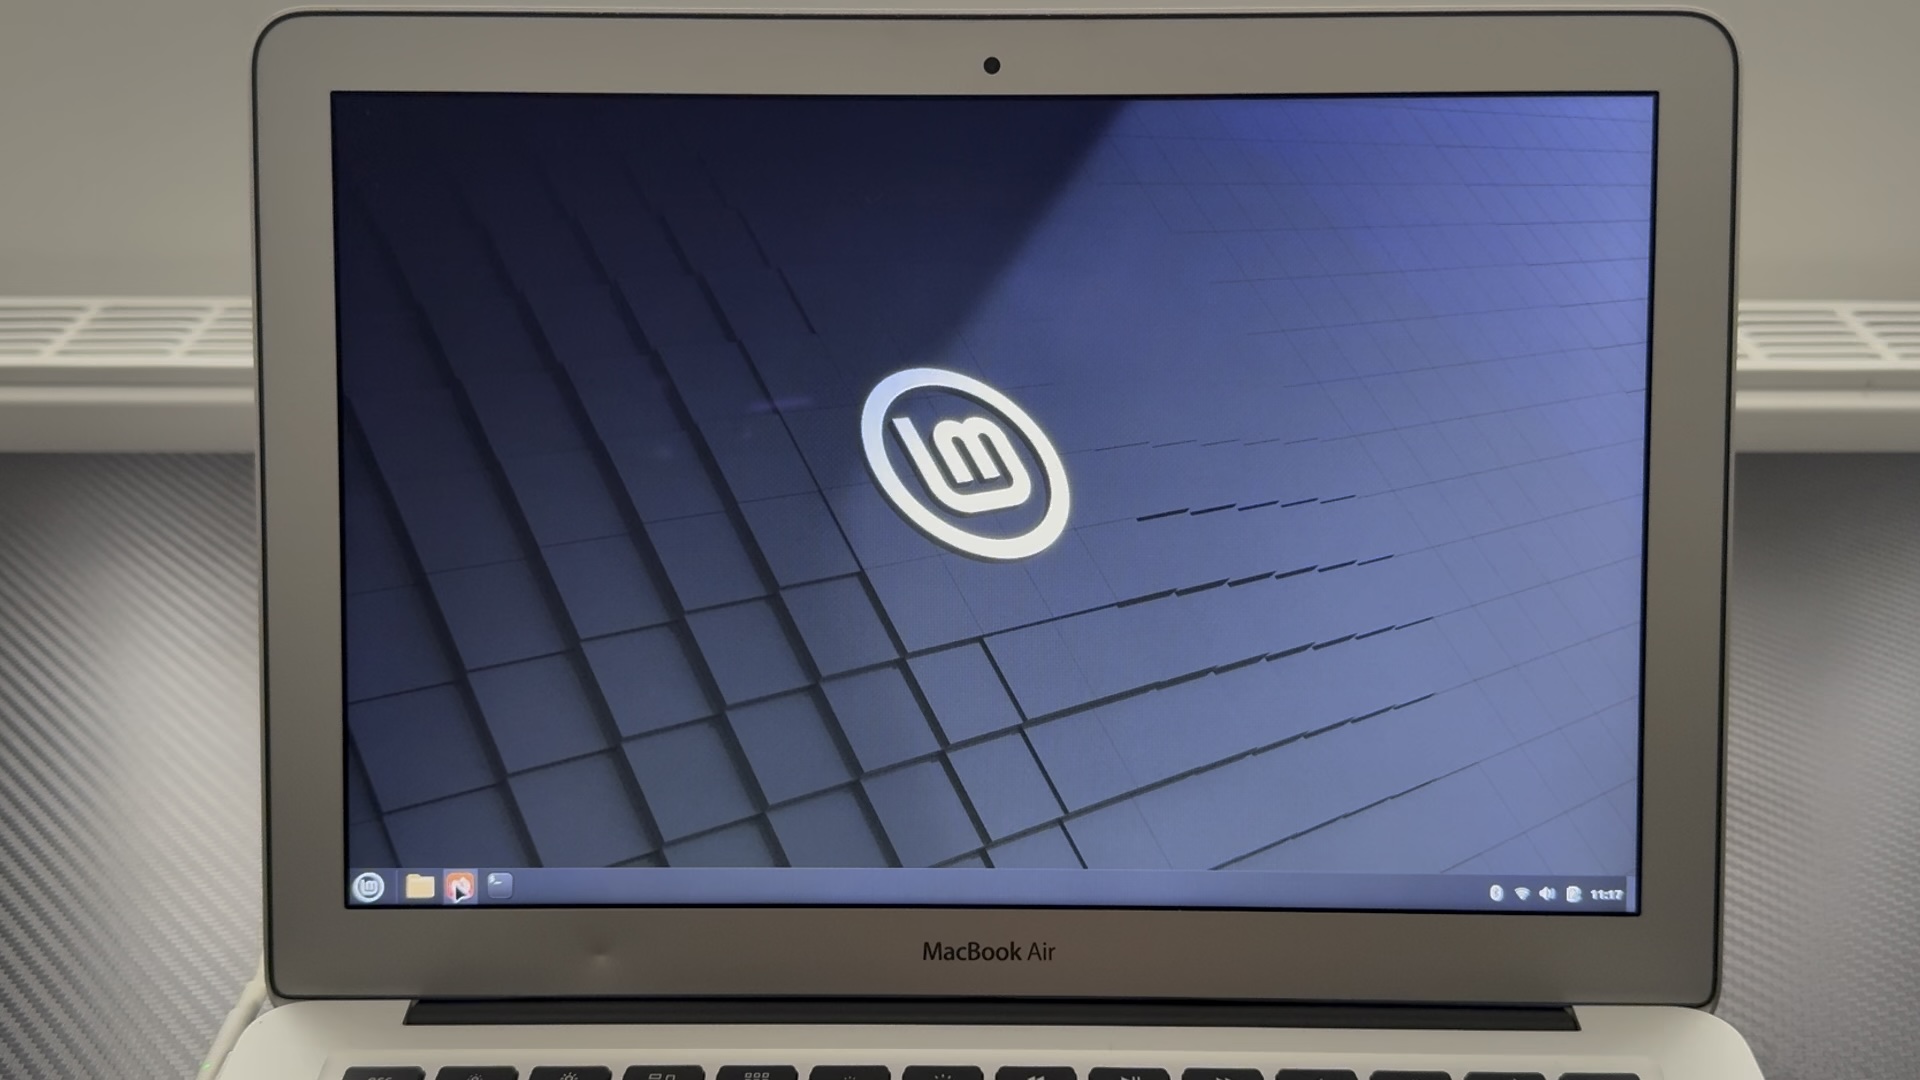
There’s lots of software pre-installed and lots more to install - all of it open source and free.
It’s a great way to give your older MacBook a breath of fresh (Minty) Air!


Comments